If you are a system administrator, backing up the server you manage is vital to prevent the loss of important data. Configuring periodic backups allows you to restore the system, should an unexpected event arise, such as a malfunction of the hardware components, the incorrect configuration of the system or the presence of viruses.
If you use Windows Server, take advantage of the Windows Server Backup (WSB) solution provided by Microsoft to quickly and easily schedule backups of both the entire server and specific storage volumes, files or folders. In this tutorial you will be shown the procedure required to perform an automatic backup of your Cloud Server with Windows Server 2019.
- Install Windows Server Backup
- Run Backup Once
- Set Scheduled Backup
- Recover Files
- Full Restoring System
Install Windows Server Backup
Step 1: Run Server Manager and Click Add roles and features and click Next on first page.
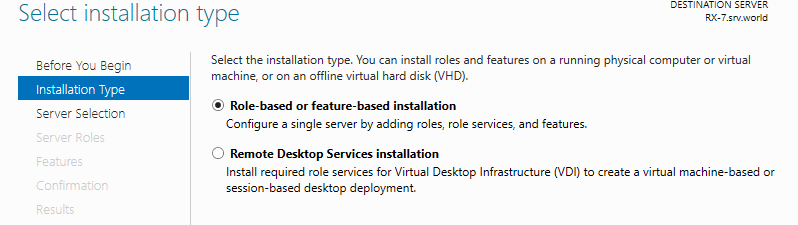
Step 2: Select Role-based or feature-based installation.
Step 3: Select a Host which you’d like to add services.
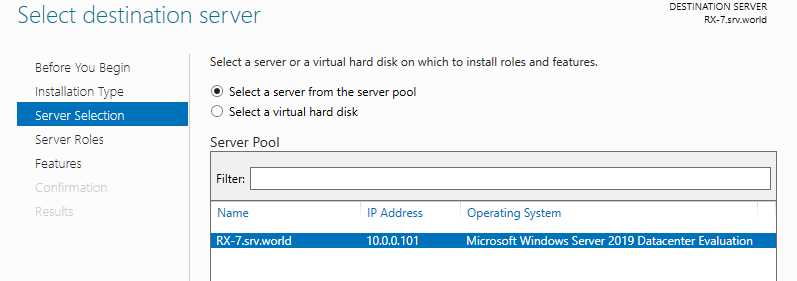
Step 4: Click Next button.
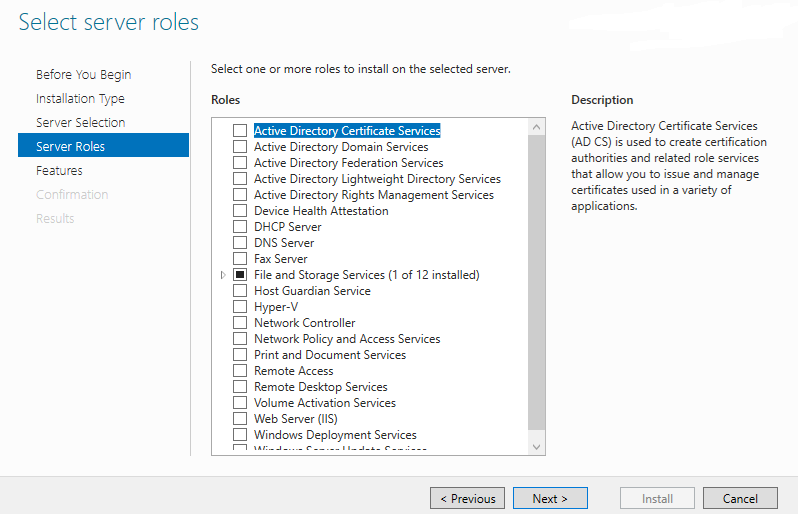
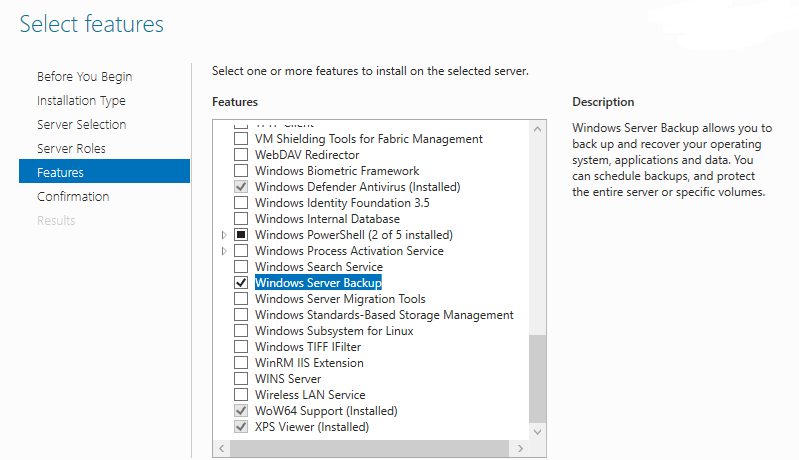
Step 5: Check a box Windows Server Backup and Click Next button.
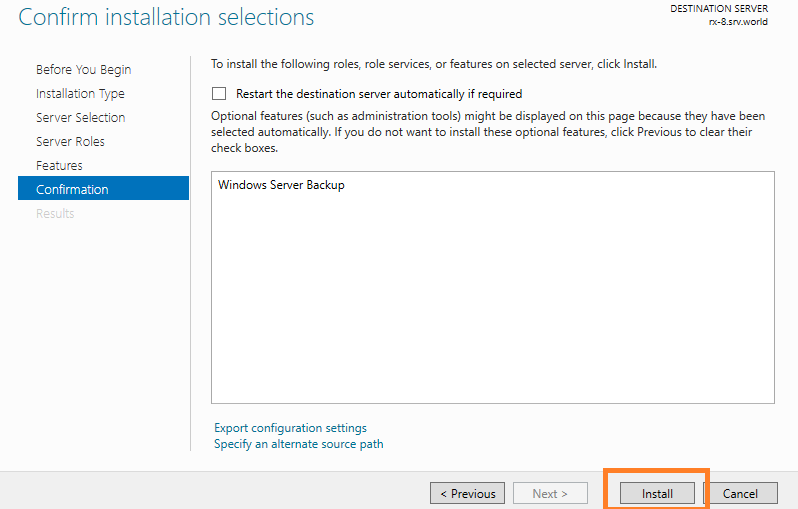
Step 6: Click Install button to begin installation.
Step 7: After finishing Installation, click Close button.
Run Backup Once
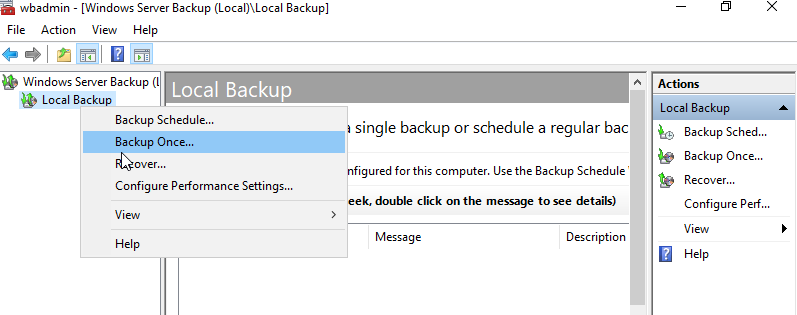
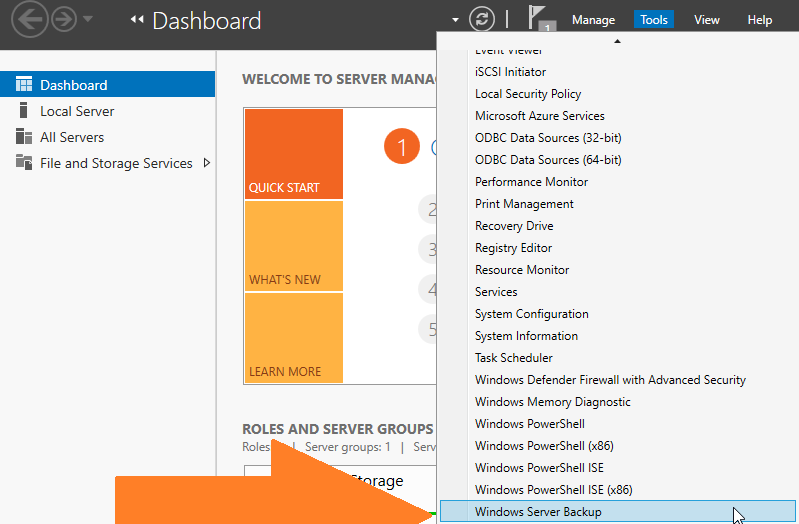
Step 1: Run Server Manager and click Tools -> Windows Server Backup.

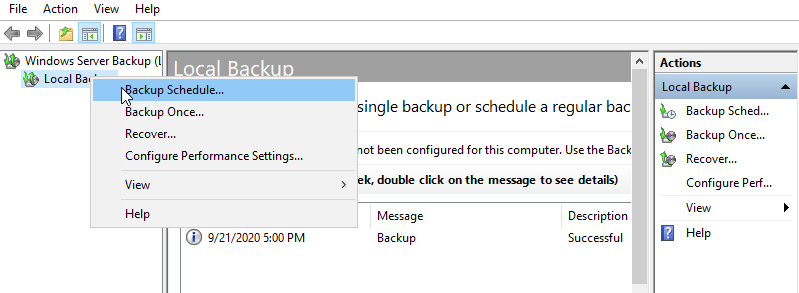
Step 2: Select Local Backup on the left pane and right-click to open menu, then select Backup Once.
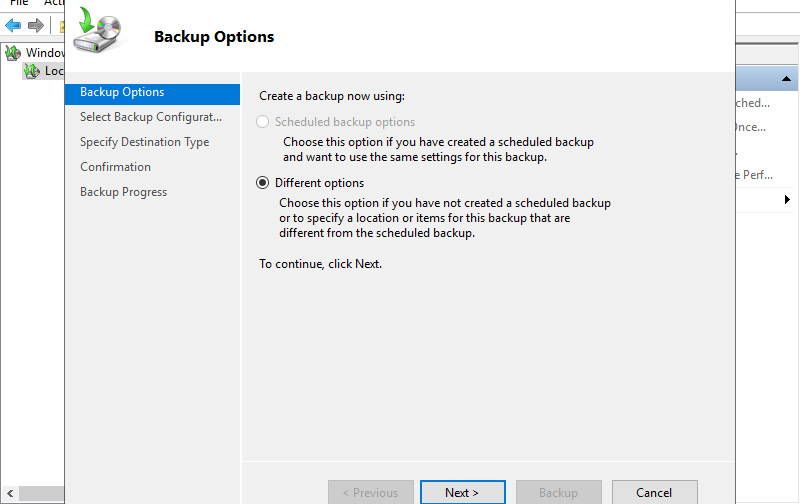
Step 3: Select Backup Options. It selects Different options on this example.
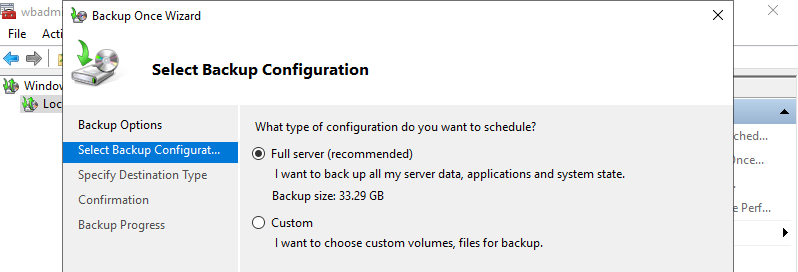
Step 4: Select Backup Configuration. It selects Full server on this example.
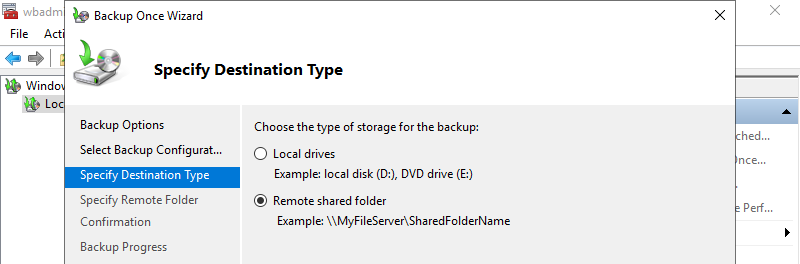
Step 5: Specify Destination Type for Backup target. It selects Remote shared folder on this example.
Step 6: Specify Remote folder if you selected Remote shared folder on previous section. After inputting shared Path, credentials for accessing to it is required.

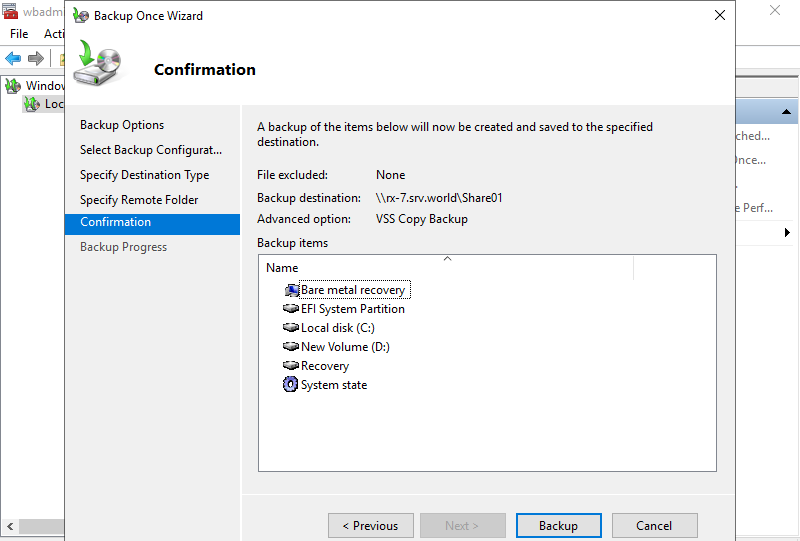
Step 7: Confirm selections and Click Backup button to start backup.
Step 8: After finishing Backup, Click Close button.
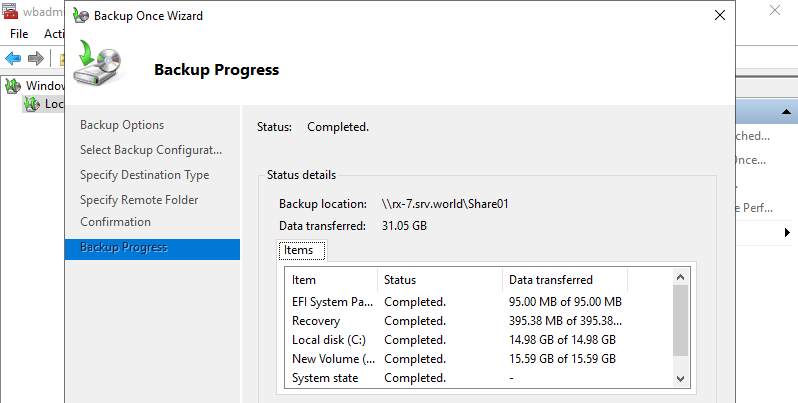
Step 9: That’s OK, Taking Backup manually completed.

Set Scheduled Backup
Step 1: Run Server Manager and click Tools -> Windows Server Backup.
Step 2: Select Local Backup on the left pane and right-click to open menu, then select Backup Schedule.
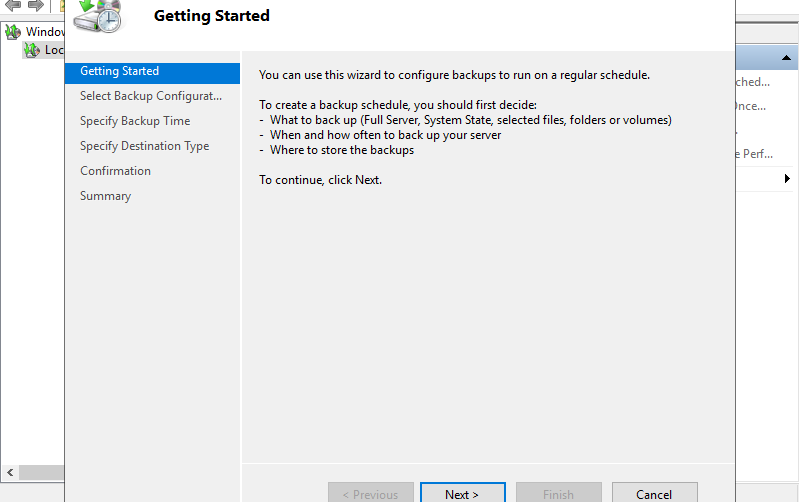
Step 3: Click Next button.
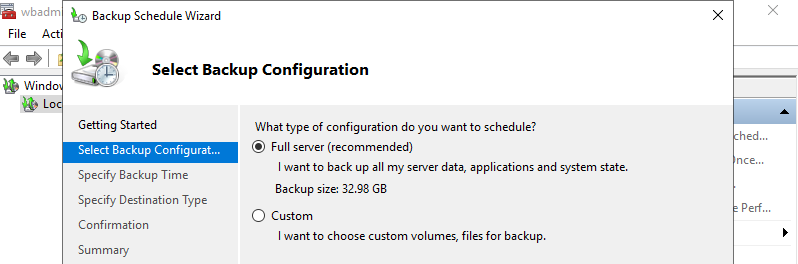
Step 4: Select Backup Configuration. It selects Full server on this example.
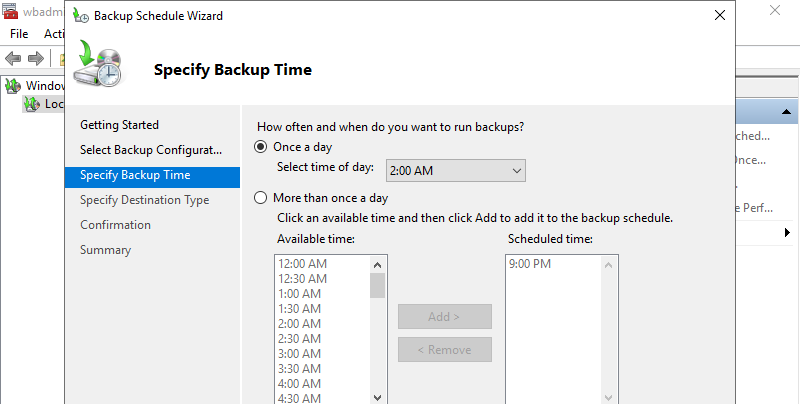
Step 5: Set time to run Backup and Click Next button.
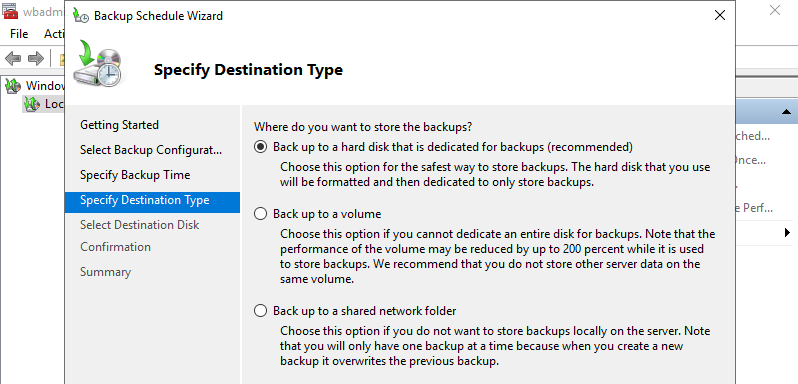
Step 6: Specify Destination Type for Backup target. It selects dedicated hard disk on this example.
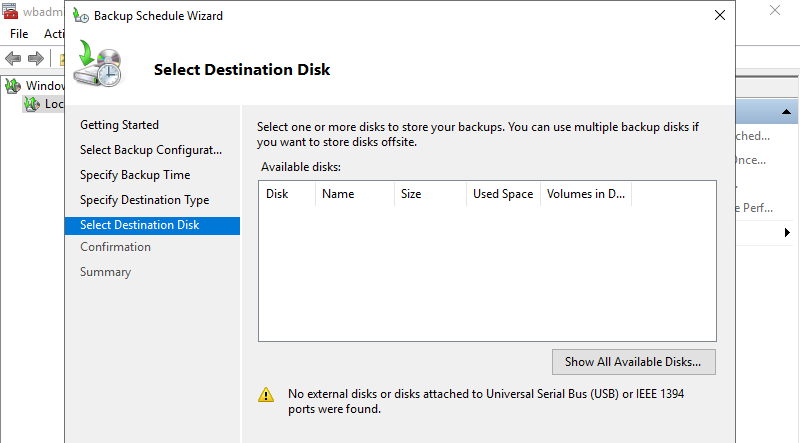
Step 7: Select Destination Disk if you selected dedicated hard disk on previous section. Click Show All Available Disks.
Step 8: Select Destination Disk for Backup.

Step 9: Click Next button.

Step 10: Read well the popup message and if that’s OK, Click [OK] button.
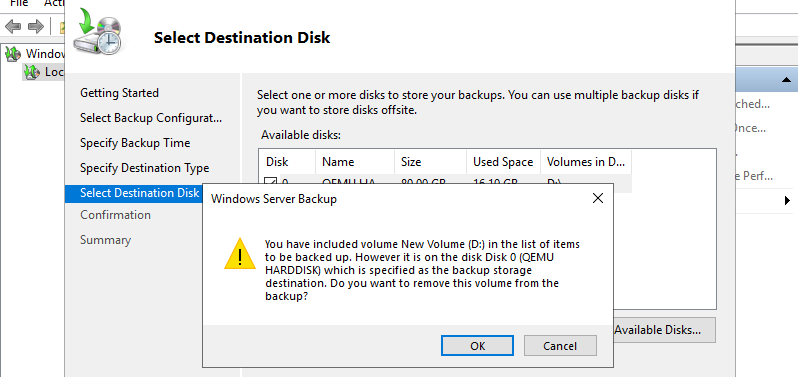
Step 11: Read well the popup message and if that’s OK, Click Yes button.

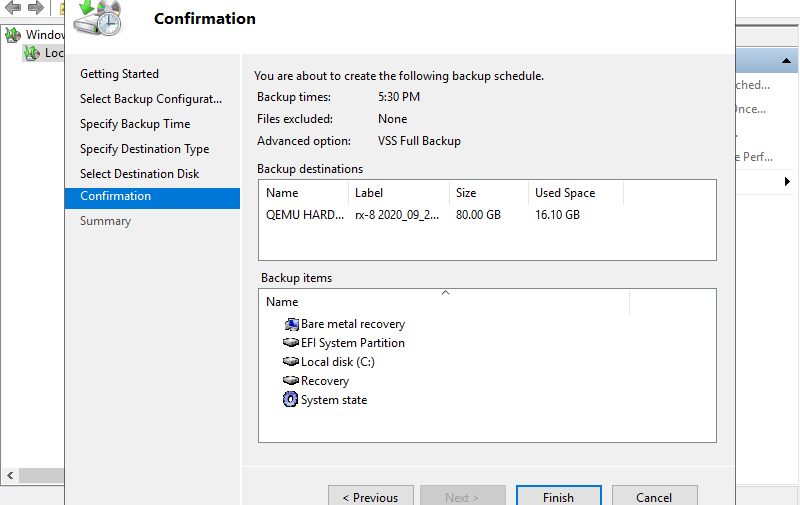
Step 12: Click Finish button.
Step 13: Click Close button to finish.
Step 14: Scheduled Backup has been configured.
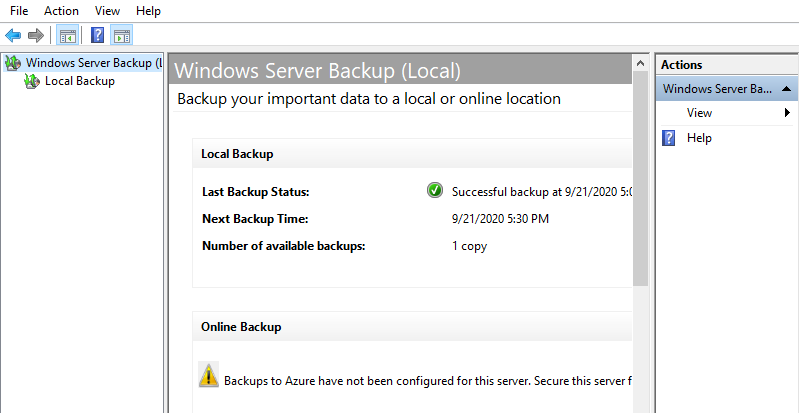
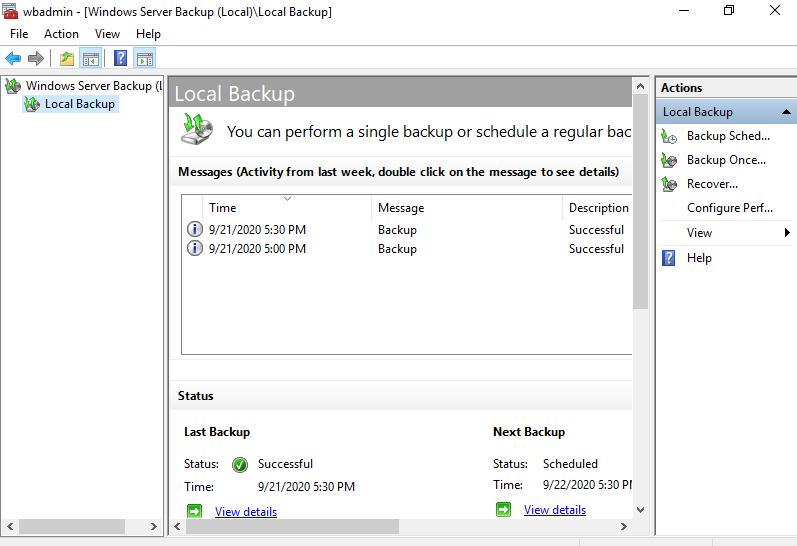
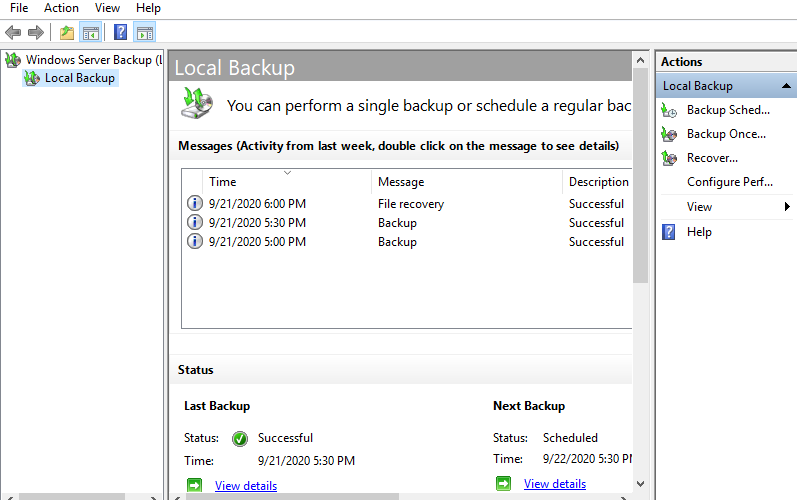
Step 15: After running Scheduled Backup, histories are logged like follows.
Recover Files
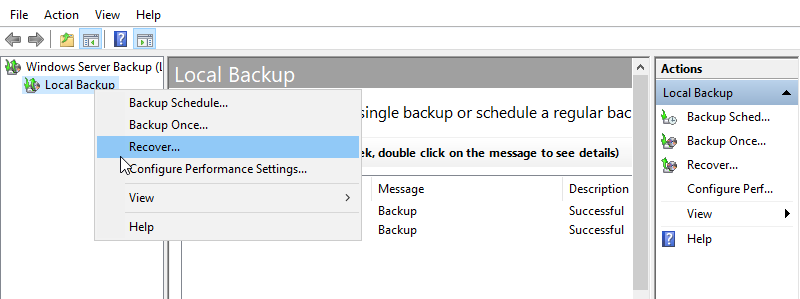
Step 1: Run Server Manager and click Tools -> Windows Server Backup, next Select Local Backup on the left pane and right-click to open menu, then select Recover.
Step 2: Select a location of Backup stored. It selects another location on this example.

Step 3: Specify Location Type. It selects Remote shared folder on this example.

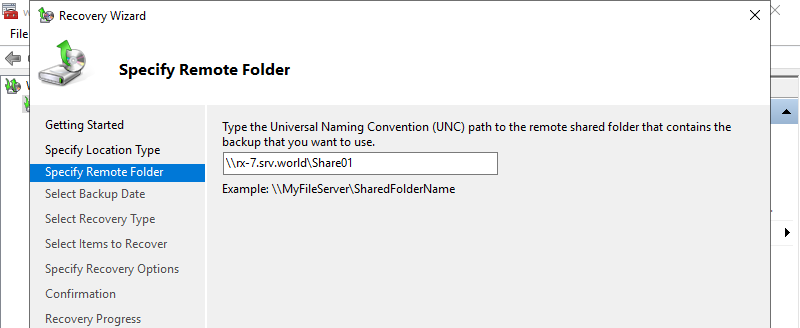
Step 4: If selected Remote shared folder on previous section, Specify Remote Folder.
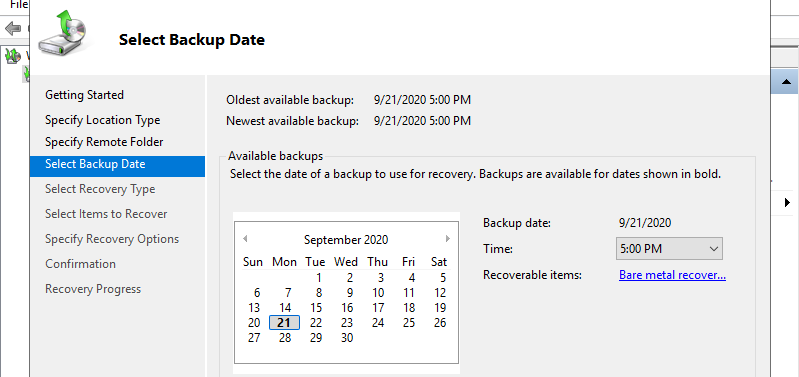
Step 5: Select Backup Date and Click Next button.
Step 6: Select Recovery Type. Its selects Files and Folders on this example.

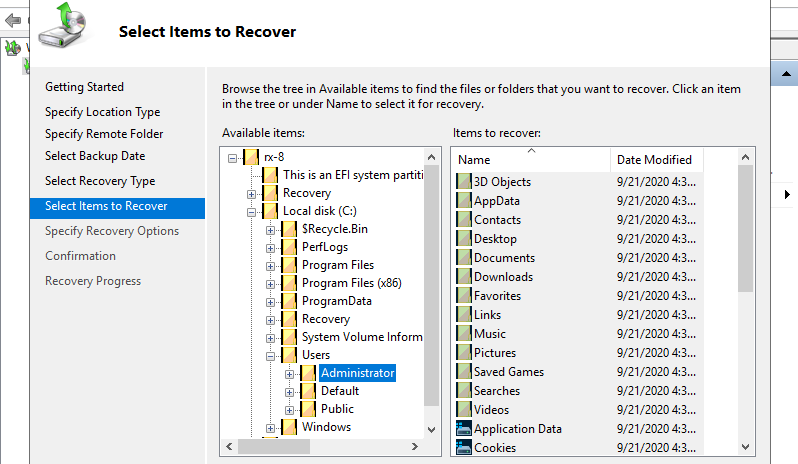
Step 7: Select Items to Recover you’d like to recover files and folders.
Step 8: Specify Recovery Options.

Step 9: Click Recover button.

Step 10: After finishing recovery, Click Close button.
Step 11: That’s OK to run recovery.
Full Restoring System
If Windows has some troubles or never start, Restoring System from Backup like follows.
It needs Windows Installation media.
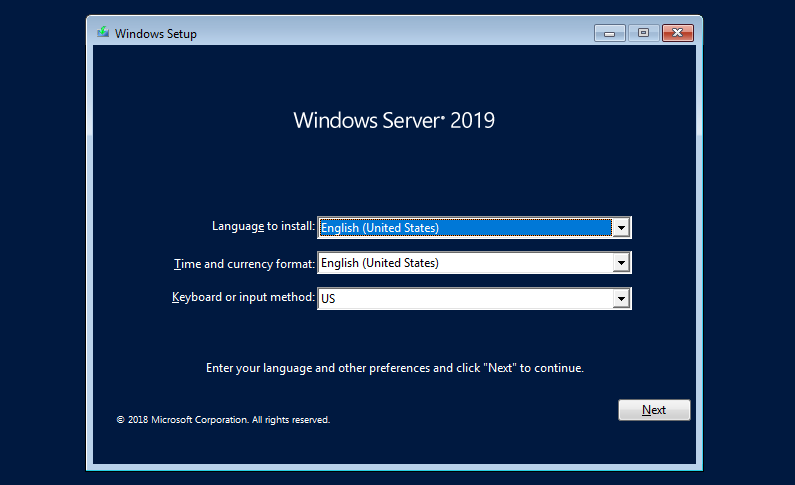
Step 1: Set Windows Installation media on your computer and restart it. After displaying the screen like follows, Click Next button.
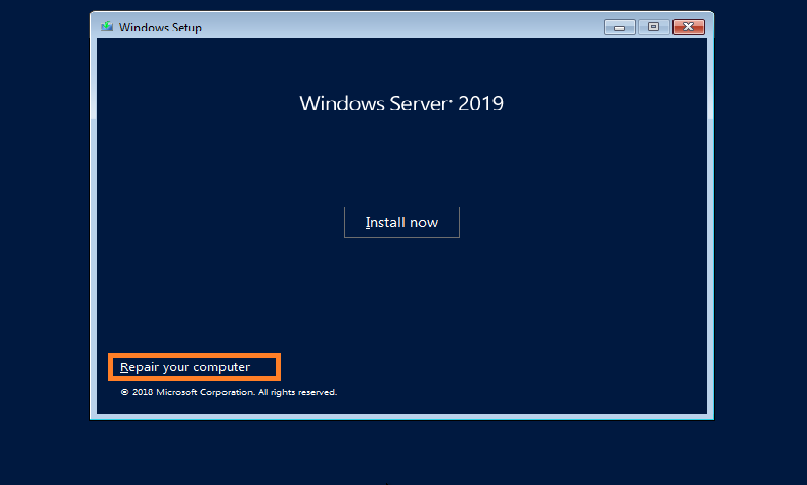
Step 2: Click Repair your computer.
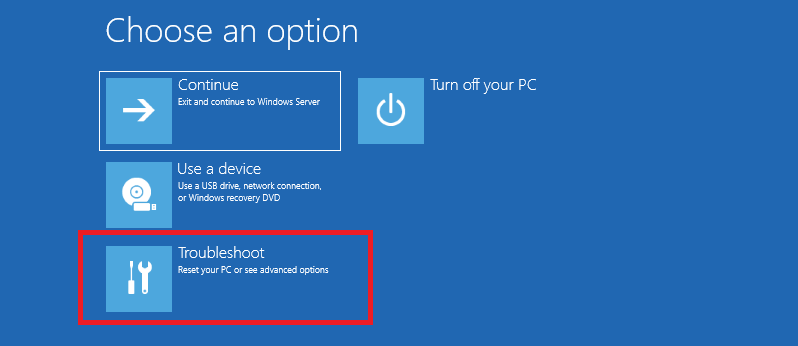
Step 3: Click Troubleshoot.
Step 4: If Backups exist in local disk on your computer, Click System Image Recovery. If Backups exist on remote computer, Click Command Prompt to enable networking.

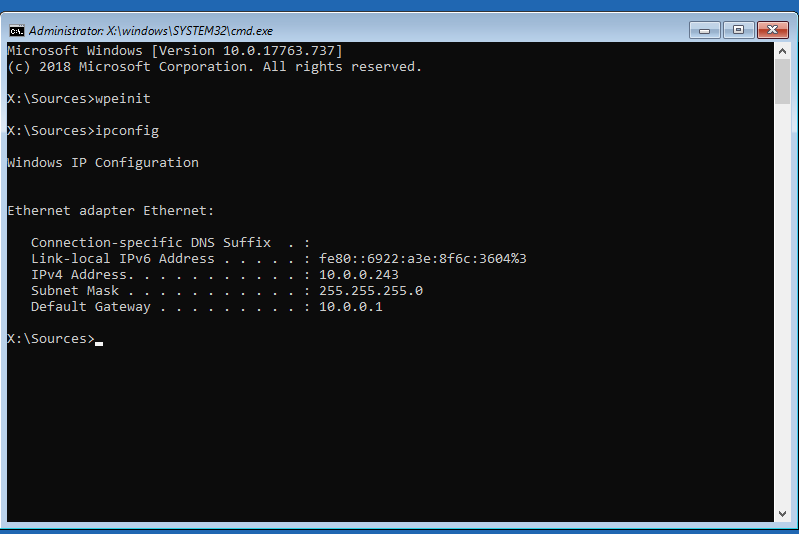
Step 5: Input wpeinit command to enable networking. If DHCP server exists in your local network, IP address is assigned and networking is enabled.
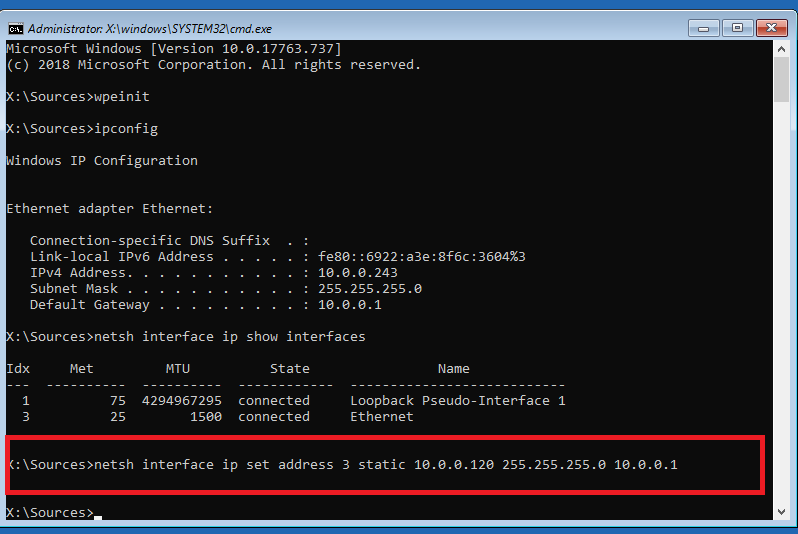
Step 6: If DHCP server does not exist in your local network, set static IP address like follows.
⇒ netsh interface ip set address (interface number) static (IP address) (subnet mask) (default gateway)
Step 7: After enabling networking if needed, Click System Image Recovery.

Step 8: Click Windows Server.

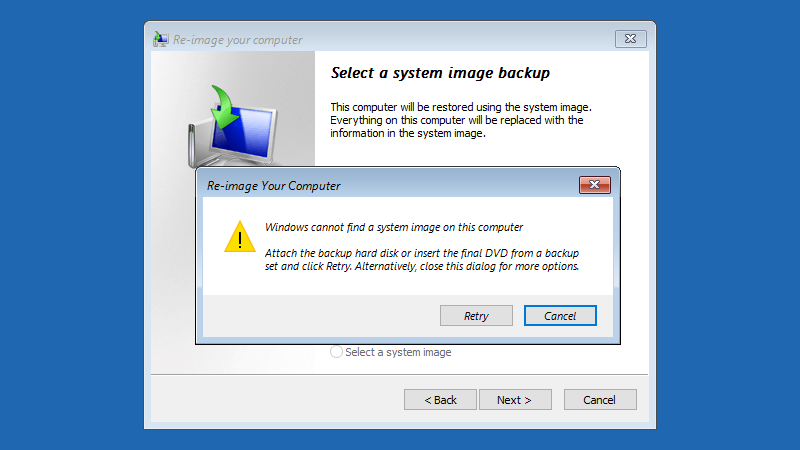
Step 9: If Backups don’t exist on local disk, following message is shown. Click Cancel button.
Step 10: Click Next button.
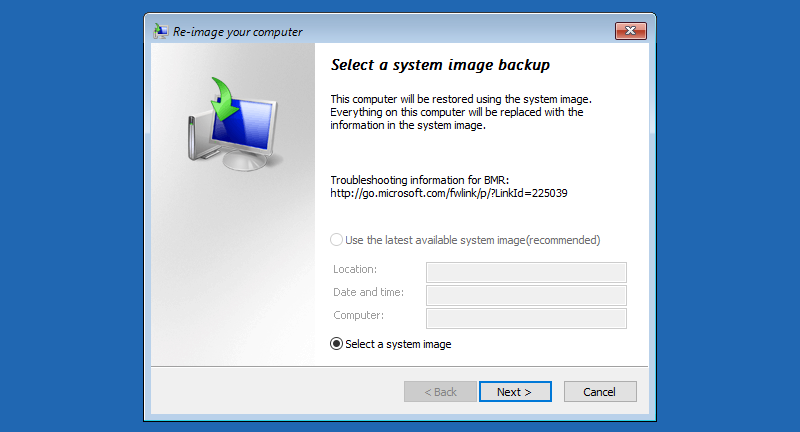
Step 11: Click Advanced… button.

Step 12: Click Search for a system image on the network.
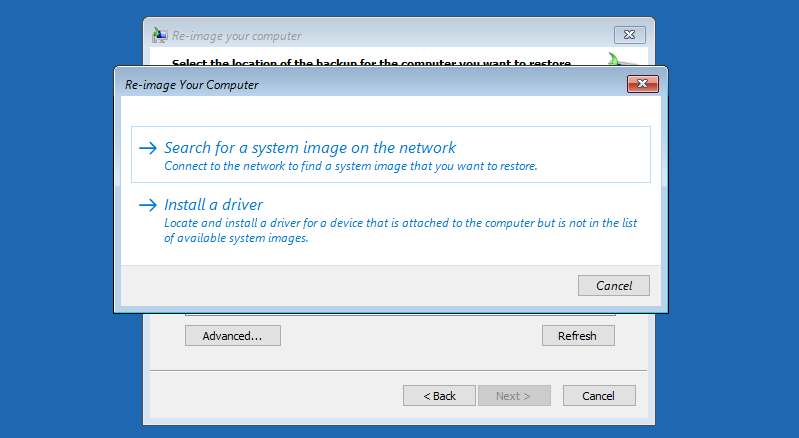
Step 13: Read well the warnings and Click Yes button.

Step 14: Specify location of Backup Image and Click OK button.
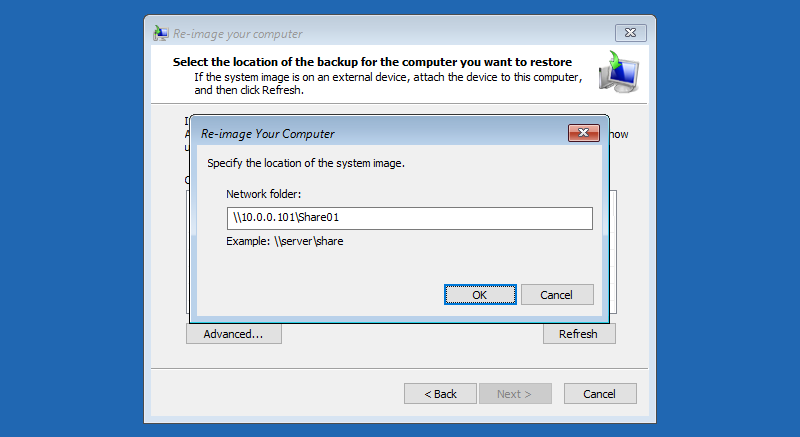
Step 15: Input credentials to access to shared folder if needed.

Step 16: Click Next button.
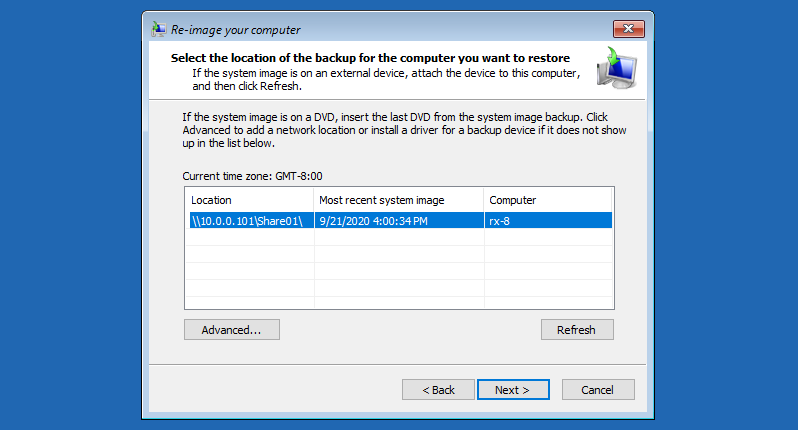
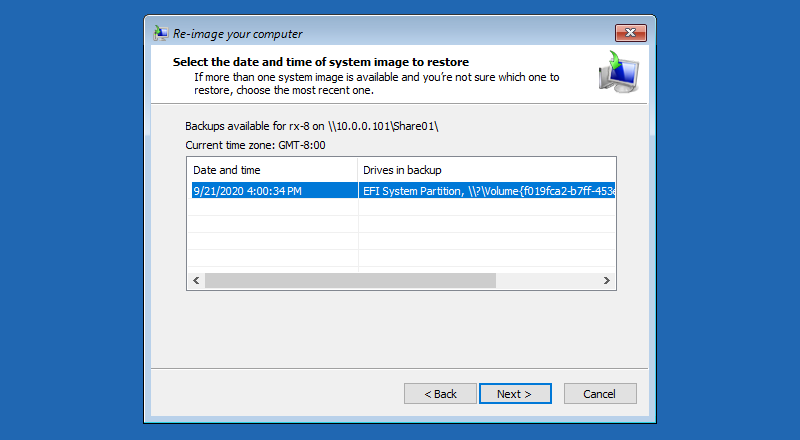
Step 17: Select the date of backup to recover the System.
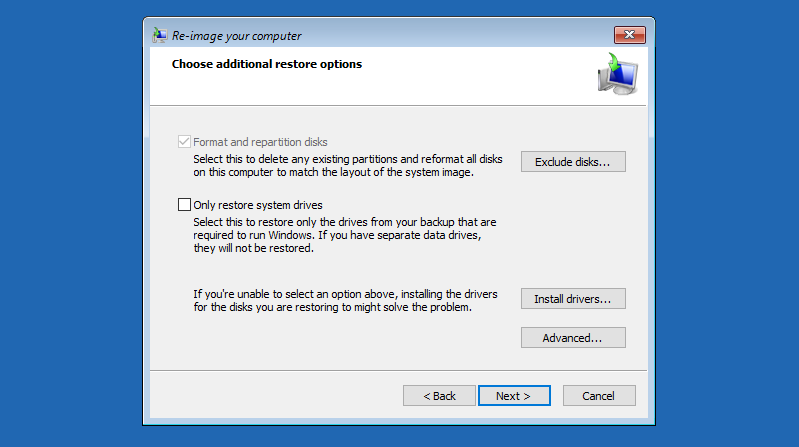
Step 18: Choose additional restore options.
Step 19: Click Finish button to start recovery task.

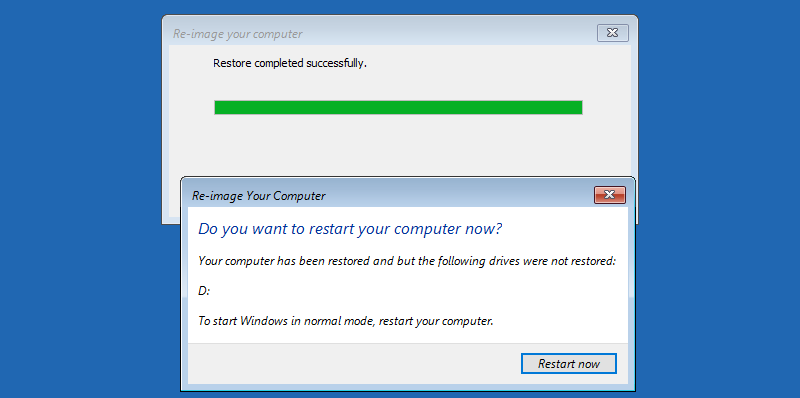
Step 20: Read well the warnings and Click Yes button.

Step 21: After finishing recovery task, restart your computer. That’s OK to recover your System.