Network File System (NFS) is a protocol which enables users to connect to a file storage system over a network and access the files as if they resided in a local file directory. NFS, like many other protocols, builds on the Open Network Computing Remote Procedure Call (ONC RPC) system. NFS is an open standard defined in a Request for Comments (RFC), allowing anyone to implement the protocol.
- Install NFS Server
- Configure NFS Shared Folder
- Install NFS Client
- Connection from NFS Client
Install NFS Server
Step 1: Run Server Manager and Click Add roles and features and click Next on first page.
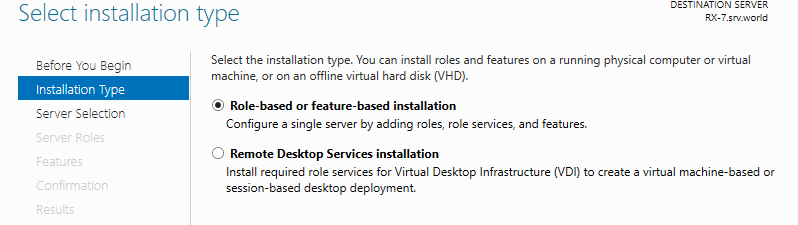
Step 2: Select Role-based or feature-based installation.
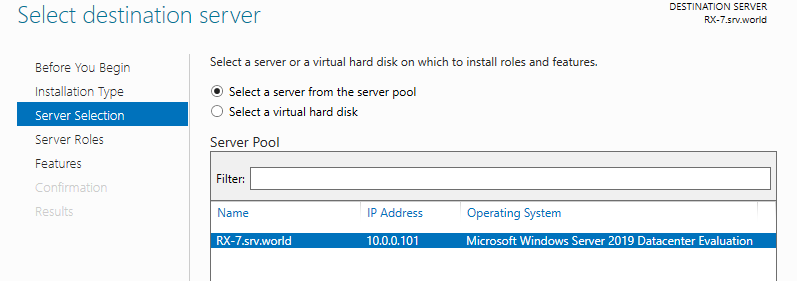
Step 3: Select a Host which you’d like to add services.
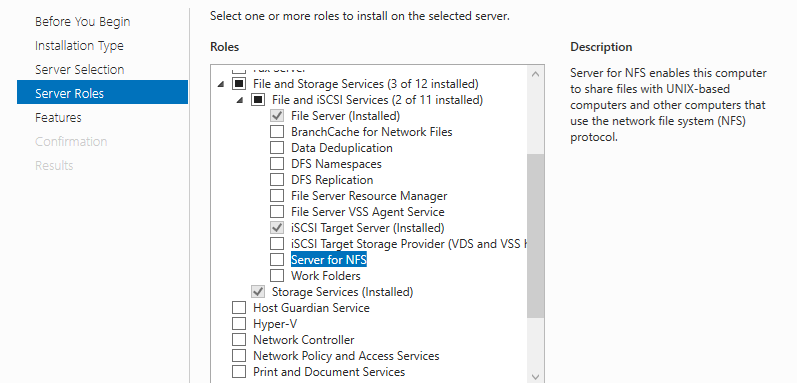
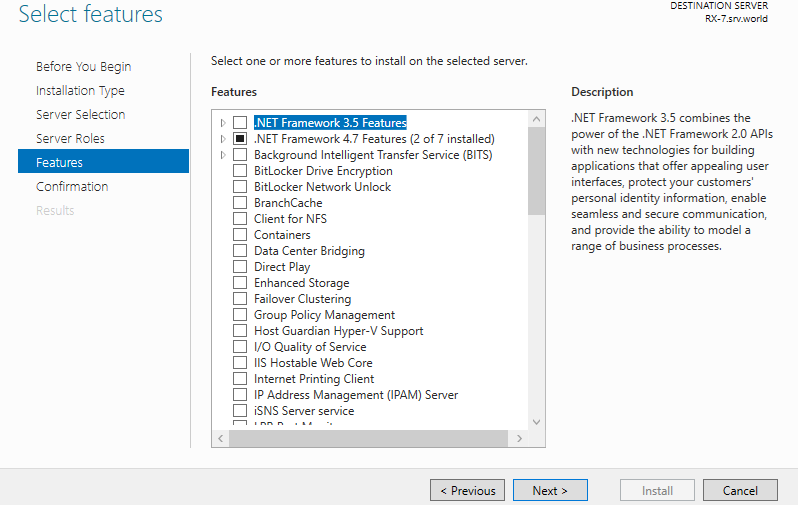
Step 4: Check a box Server for NFS.
Step 5: Additional features are required to add NFS Server. Click Add Features button and proceed Next.

Step 6: Click Next button.
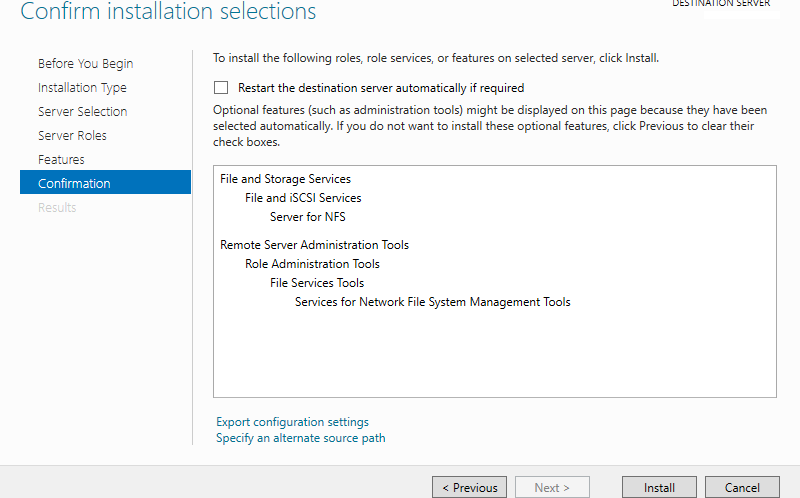
Step 8: Click Install button.
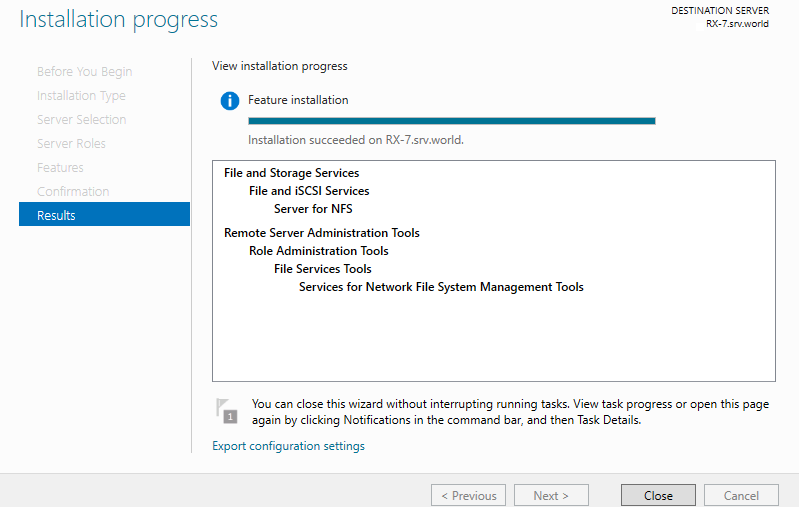
Step 9: After finishing Installation, click Close button.
Configure NFS Shared Folder
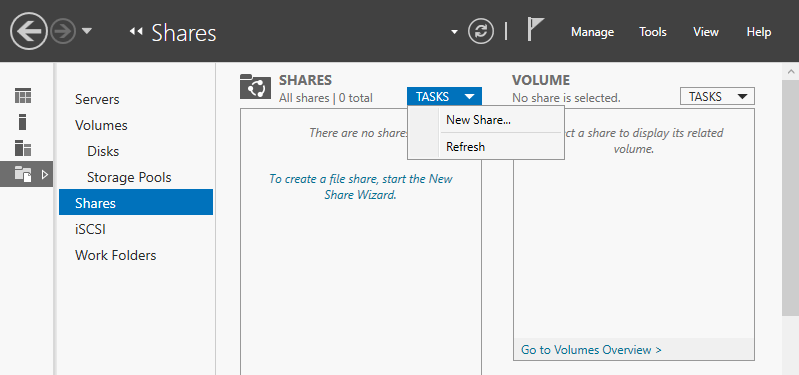
Step 1: Run Server Manager and Click File and Storage Services.

Step 2: Select Shares on the left pane and click TASKS -> New Share….
Step 3: On this example, select NFS Share – Quick.

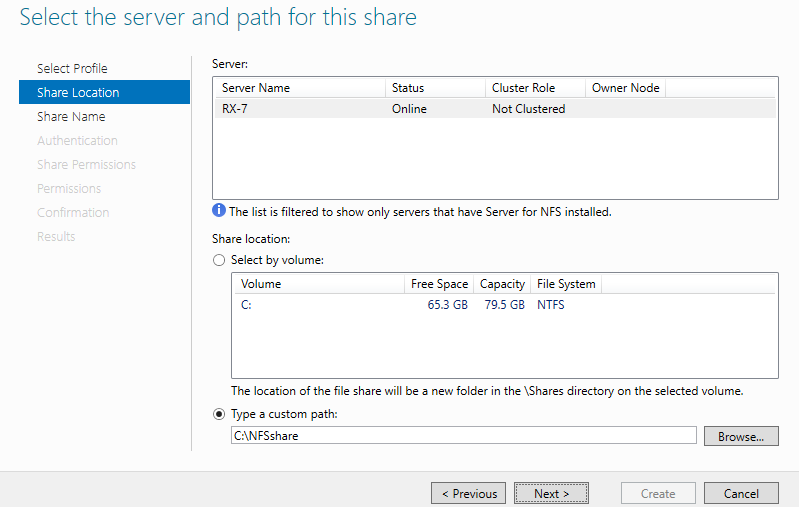
Step 4: On this example, Configure a specific folder as shared one, so check a box Type a custom path and input the path for specific folder you’d like to set as shared folder.
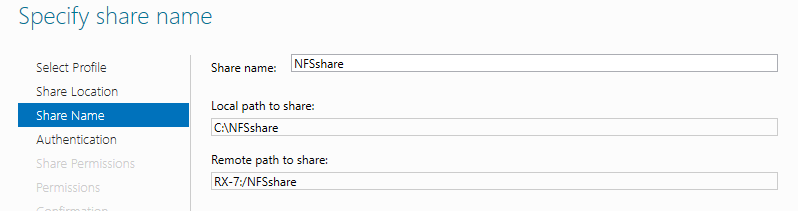
Step 5: Input Share Name, Local and Remote Share Path.
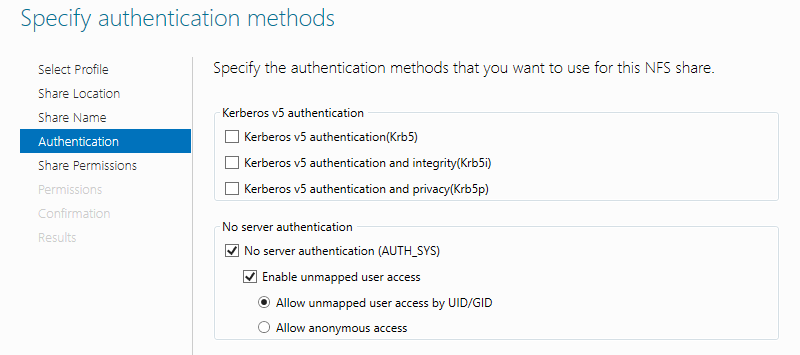
Step 6: Specify authentication methods. On this example, set like follows.
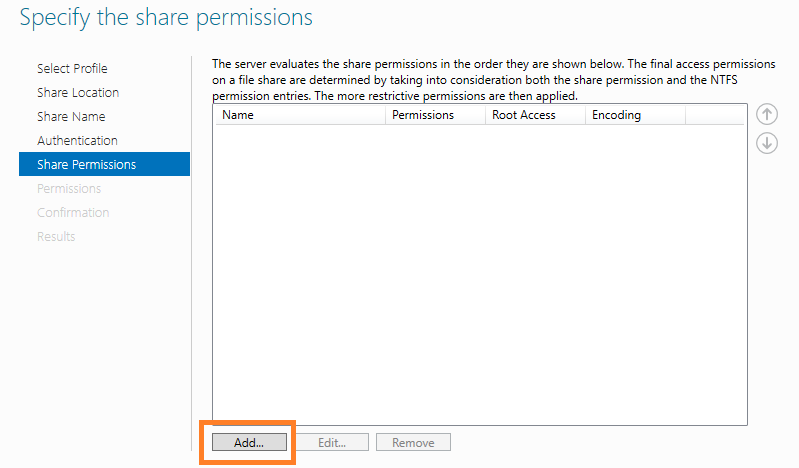
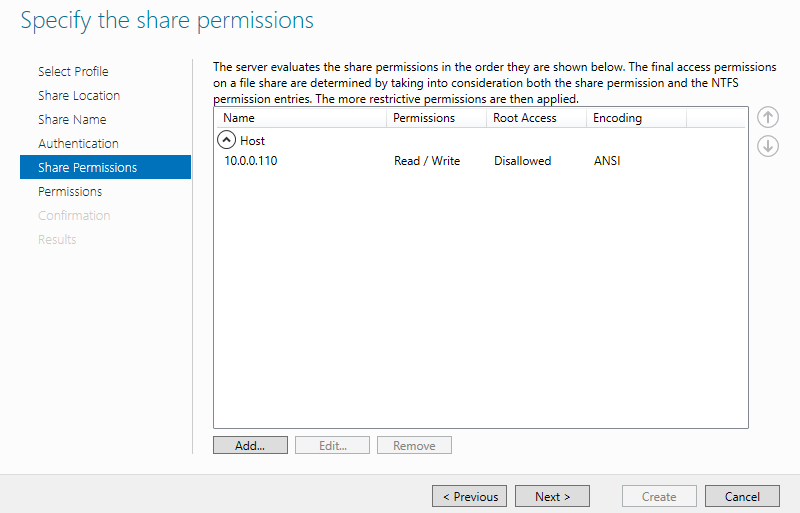
Step 7: Set the Share permissions. Click Add… button.
Step 8: Specify the Hosts you’d like to grant access permissions.

Step 9: Confirm settings and Click Next button.
Step 10: Specify permissions to control access.

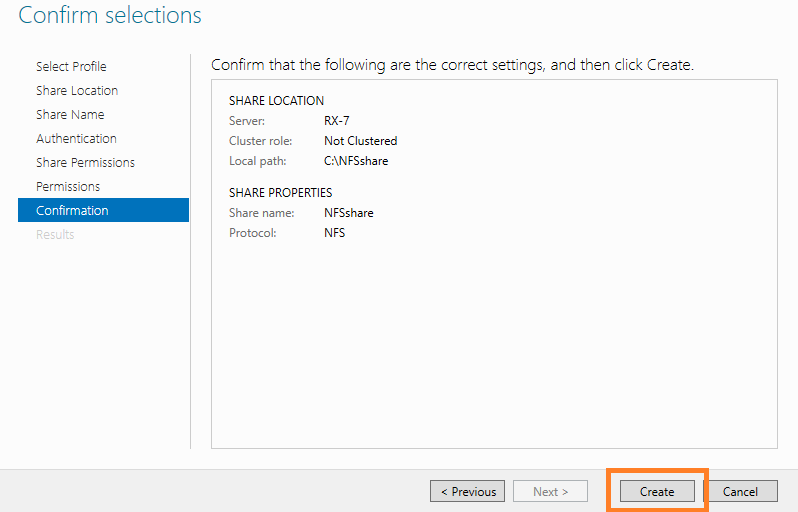
Step 11: Confirm selections and it’s no problem, Click Create button.
Step 12: After finishing creating, Click Close button.

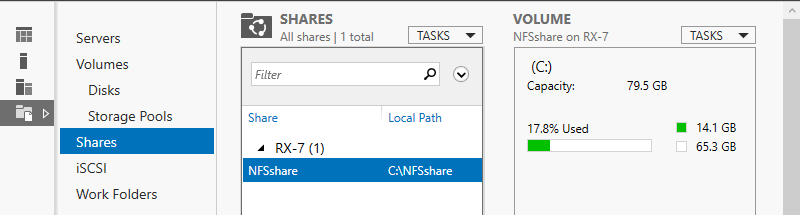
Step 13: NFS shared folder has been just configured.
Install NFS Client
Step 1: Run Server Manager and Click Add roles and features and click Next on first page.
Step 2: Select Role-based or feature-based installation.

Step 3: Select a Host which you’d like to add services.

Step 4: Click Next button.
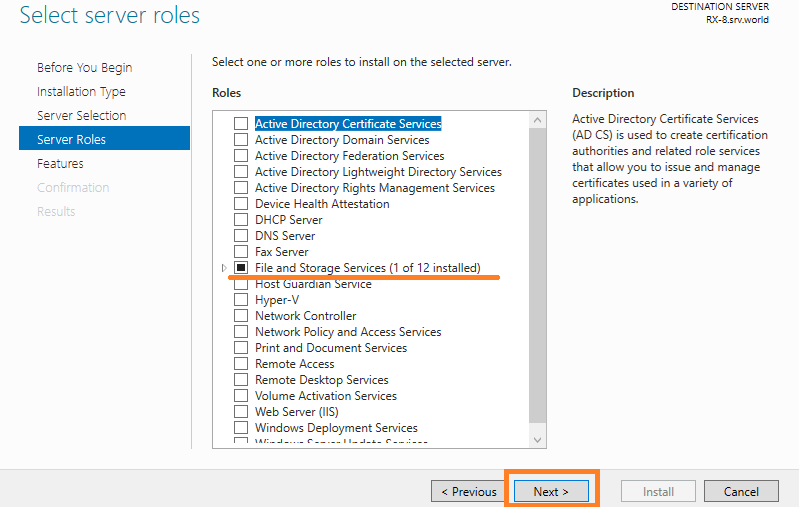
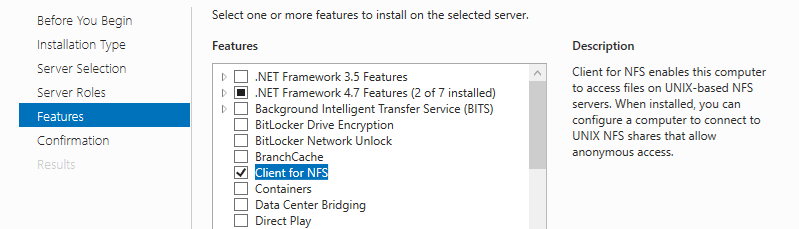
Step 5: Check a box Client for NFS and go Next.
Step 6: Click Install button.
Step 7: After finishing Installation, click Close button.
Connection from NFS Client
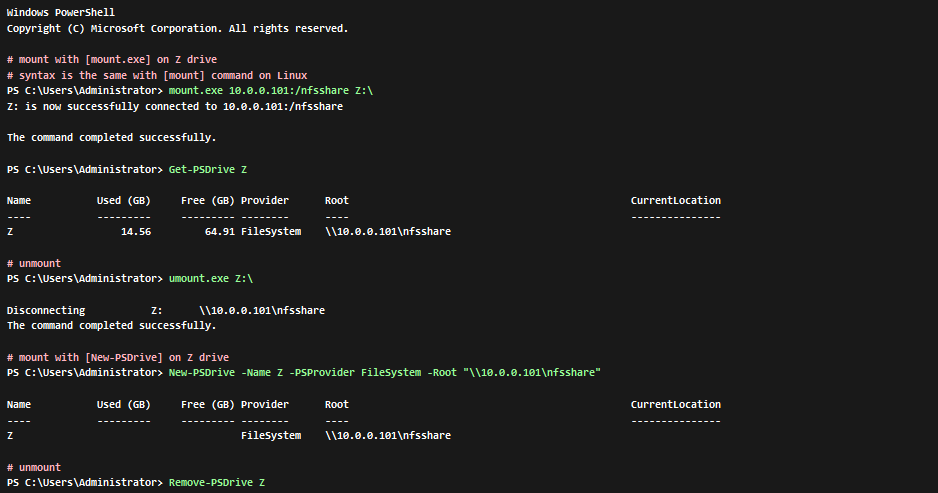
Run PowerShell with Admin Privilege on the NFS Client that you set access permission to connect on NFS Server settings.
It’s possbile to mount NFS Share with the command [C:\Windows\system32\mount.exe] that is installed by NFS Client installation, or also possible to use PowerShell Cmdlet New-PSDrive command.
On PowerShell by default, mount command is set Alias to New-PSDrive command, so if use mount command, specify full name of the filename mount.exe.