The File Transfer Protocol (FTP) is a standard communication protocol used for the transfer of computer files from a server to a client on a computer network. FTP is built on a client–server model architecture using separate control and data connections between the client and the server. FTP users may authenticate themselves with a clear-text sign-in protocol, normally in the form of a username and password, but can connect anonymously if the server is configured to allow it. For secure transmission that protects the username and password, and encrypts the content, FTP is often secured with SSL/TLS (FTPS) or replaced with SSH File Transfer Protocol (SFTP).
- Install FTP Server
- Configure Passive Mode
- Add FTP Site
- SSL/TLS Setting
- FTP Client
- FTP User Isolation
Install FTP Server
Step 1: Run Server Manager and Click Add roles and features and click Next on first page
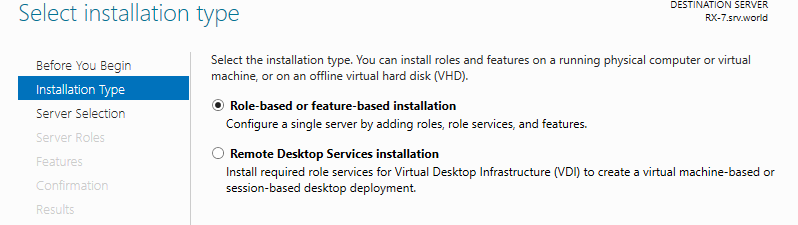
Step 2: Select Role-based or feature-based installation.
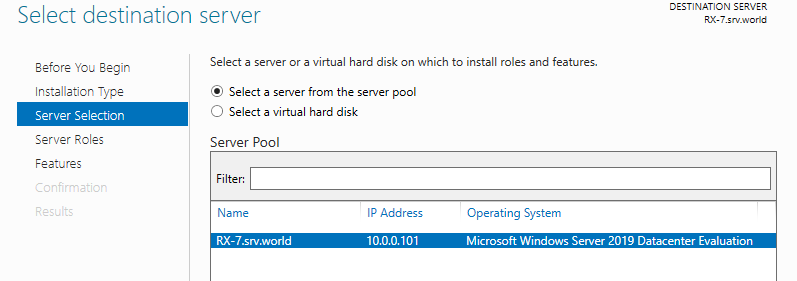
Step 3: Select a Host which you’d like to add services.
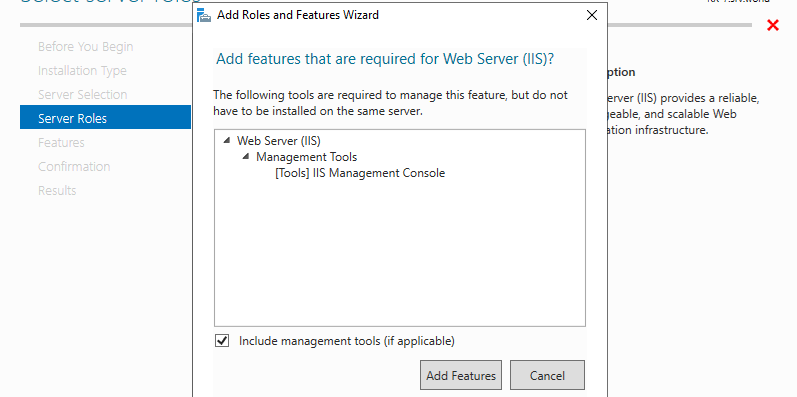
Step 4: Check a box Web Server (IIS). (FTP Server feature is included in Web Server (IIS) features)
Step 5: Additional features are required to add IIS Server. Click Add Features button and then Click Next button.
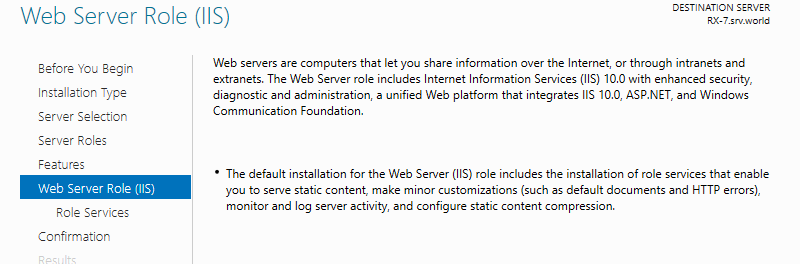
Step 6: Click Next and Next button on two windows.
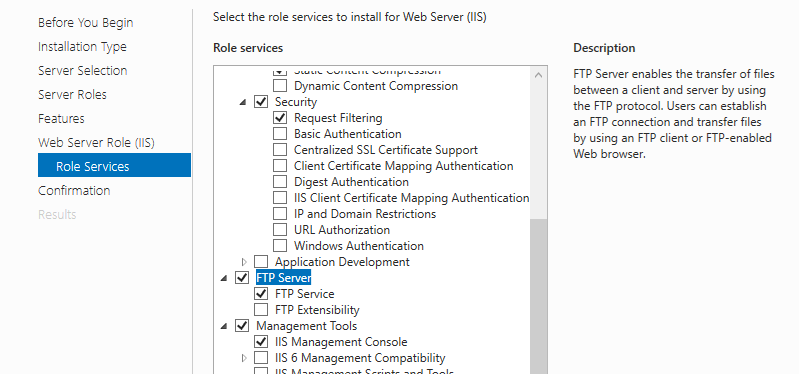
Step 7: This is the section to select Web Server features. Check a box FTP Server like follows.
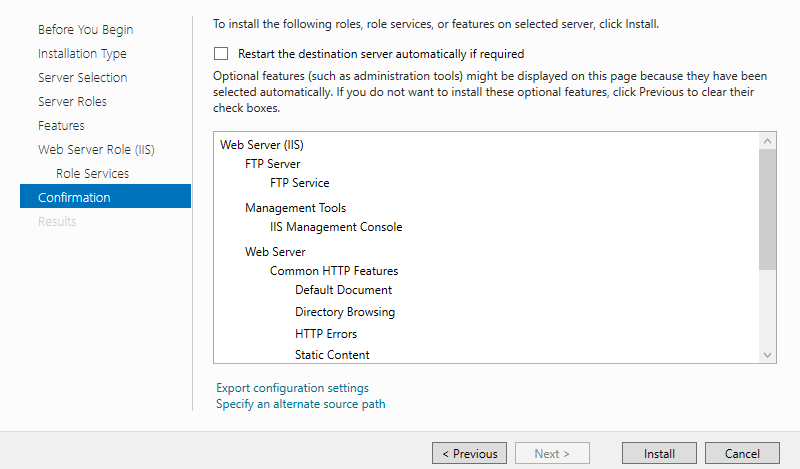
Step 8: Click Install button.
Step 9: After finishing Installation, click Close button.
Configure Passive Mode
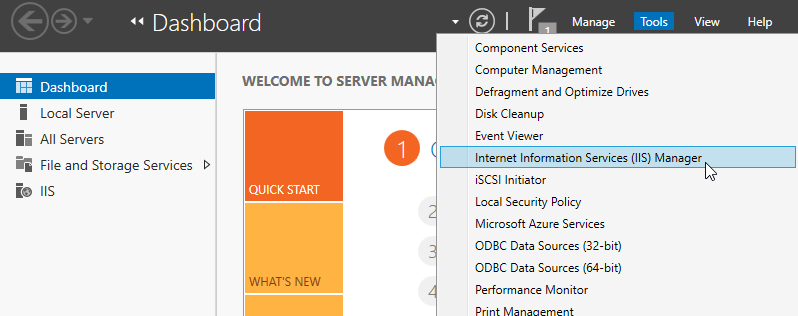
Step 1: Run Start -> Server Manager and Click Tools -> Internet Information Services (IIS) Manager.
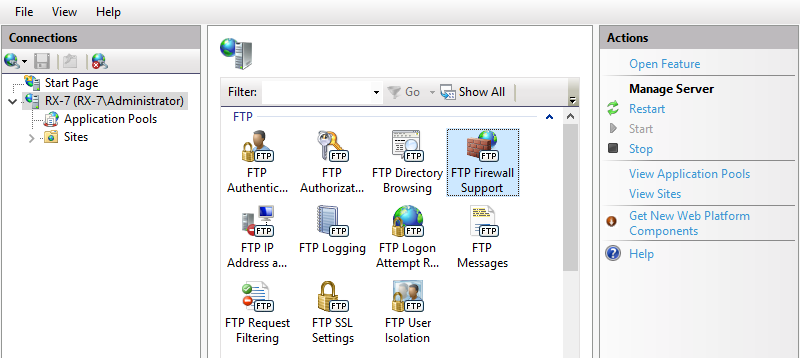
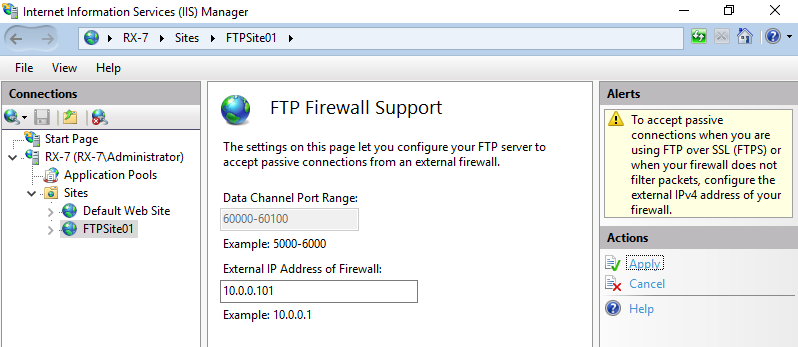
Step 2: Select Hostname on the left pane and Click FTP Firewall Support on the center pane.
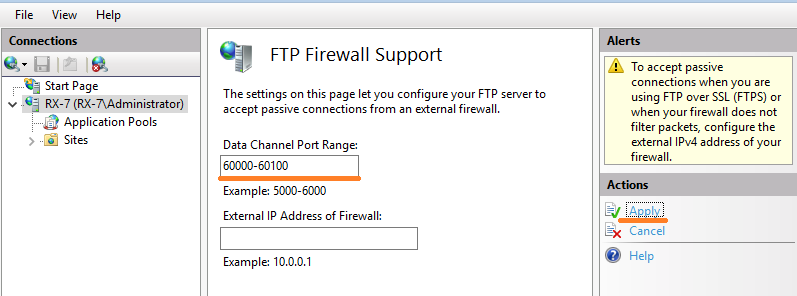
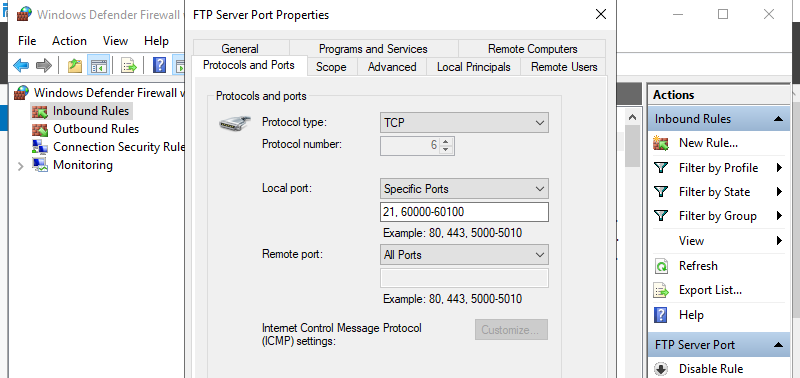
Step 3: Input port range for Data Channel Port Range section. Specify any range that FTP Server Host does not use.
(example below sets 60000 – 60100 range)
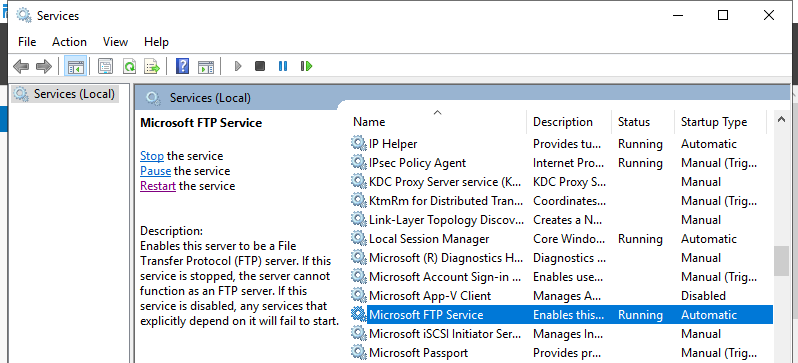
Step 4: Open Server Manager -> Tools -> Services and restart FTP Service to apply changes.
Step 5: Open Server Manager -> Tools -> Windows Defender Firewall with Advanced Security and add inbound rule to allow passible ports you set and also 21 port FTP Service uses like follows.
Add FTP Site
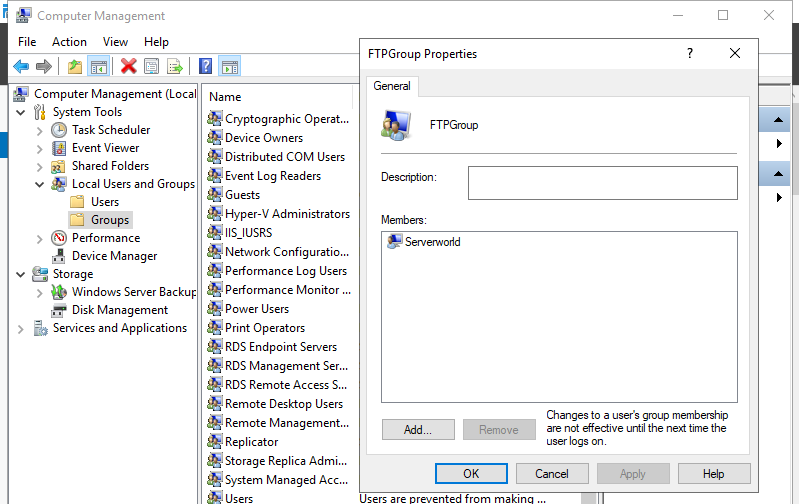
Step 1: Add a local group and add local users to the group you allow to use FTP site.
On this example, Create a FTPGroup group and add Serverworld user to the group to allow to use FTP site.
Step 2: Create a physical folder for FTP site’s root path and add access authority for the group added on to the folder. On this example, create a FTPSite01 folder under the [C:\inetpub\ftproot] that is created by default and set it.

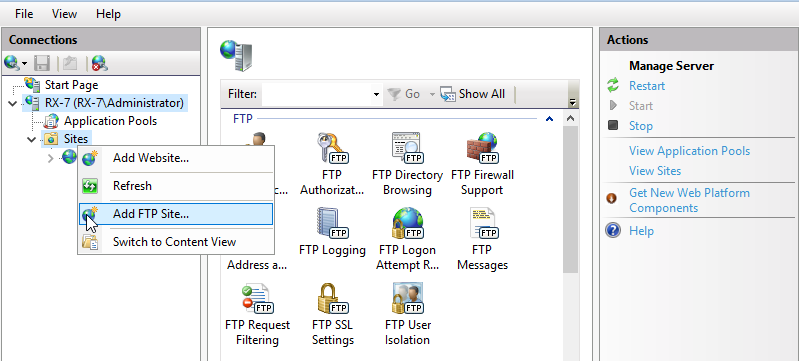
Step 3: Add FTP Site.
Run Start -> Server Manager and Click Tools -> Internet Information Services (IIS) Manager. Next, Select the Site and right click it, then Open Add FTP Site.

Step 4: Input any name for FTP site name, specify physical Path for Physical path that you added on step 2.

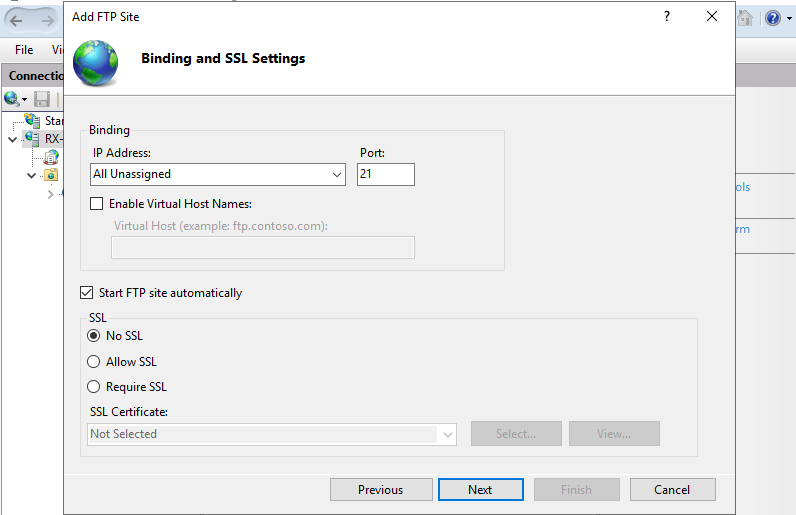
Step 5: This is Binding setting section. It’s OK to keep default for IP Address and Port.
For the case of this default setting, FTP service listens on 0.0.0.0:21.
For SSL section, Select [No SSL] on this example.

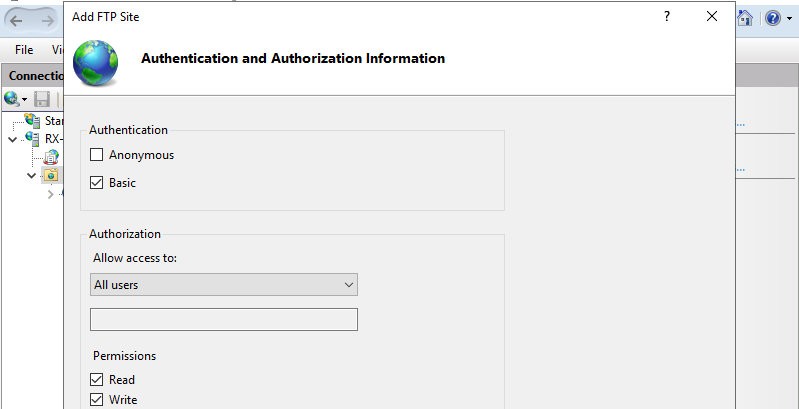
Step 6: This is Authentication and Authorization settings section.
On this example, set Basic for authentication and Specified roles or user groups for Authorization.
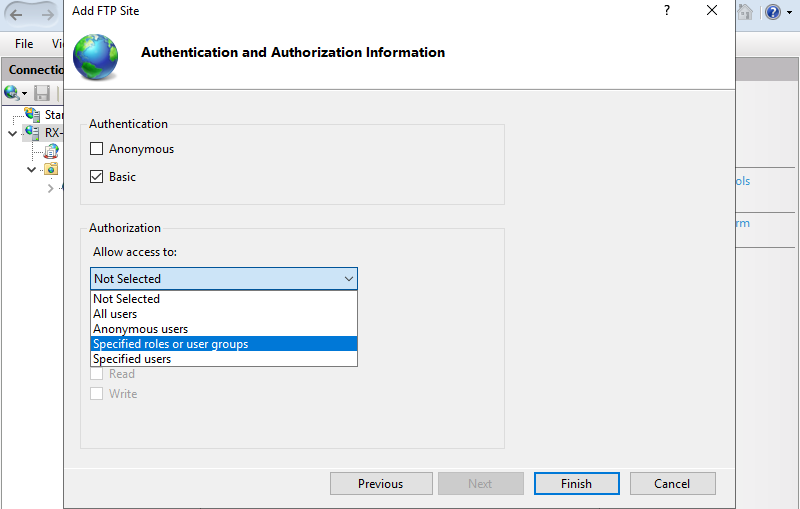
Step 7: For Authorization setting, if selected Specified roles or user groups, it needs to specify group you allow to access. On this example, set the group created on step 1.

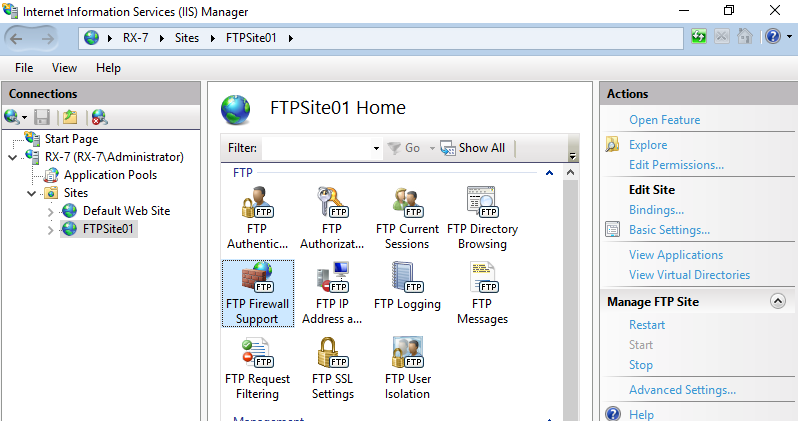
Step 8: FTP site has been added. Select the new FTP site on the left pane and click FTP Firewall Support on center pane.
Step 9: Set IP address that client computers can connect to.
That’s OK to configure FTP site.

SSL/TLS Setting
Step 1: Add a local group and add local users to the group you allow to use FTP site.
On this example, Create a FTPGroup group and add Serverworld user to the group to allow to use FTP site.

Step 2: Create a physical folder for FTP site’s root path and add access authority for the group added on to the folder. On this example, create a FTPSite01 folder under the [C:\inetpub\ftproot] that is created by default and set it.

Step 3: Buy or Get or Create SSL certificate first.

Step 4: Add FTP Site.
Run Start -> Server Manager and Click Tools -> Internet Information Services (IIS) Manager. Next, Select the Site and right click it, then Open Add FTP Site.

Step 5: Input any name for FTP site name, specify physical Path for Physical path.

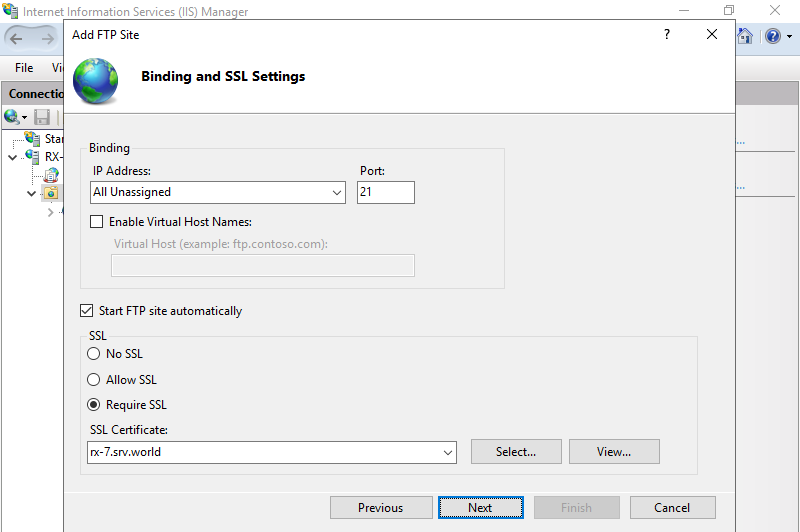
Step 6: This is Binding and SSL settings section. It’s OK to keep default for IP Address and Port.
For the case of this default setting, FTP service listens on 0.0.0.0:21.
For SSL section, Select Require SSL and also select your certificate on SSL Certificate field.
Step 7: This is Authentication and Authorization settings section.
In this example, set Basic for authentication and Specified roles or user groups for Authorization.

Step 8: For Authorization setting, if selected Specified roles or user groups, it needs to specify group you allow to access.

Step 8: For Authorization setting, if selected Specified roles or user groups, it needs to specify group you allow to access.

Step 10: Set IP address that client computers can connect to.
That’s OK to configure FTP site.

FTP Client
Connect to the FTP server from Client Computers.
this example is based on the settings FTP Client connects to FTP Server with passive mode.
On passive mode connection, client program ftp command bundled in Windows 10 or Windows Server 2019 (or old versions) can not use passive mode (even if with [quote pasv]), so it needs to use other FTP Client program.On this example, Use FileZilla.
⇒ https://filezilla-project.org/download.php?type=client
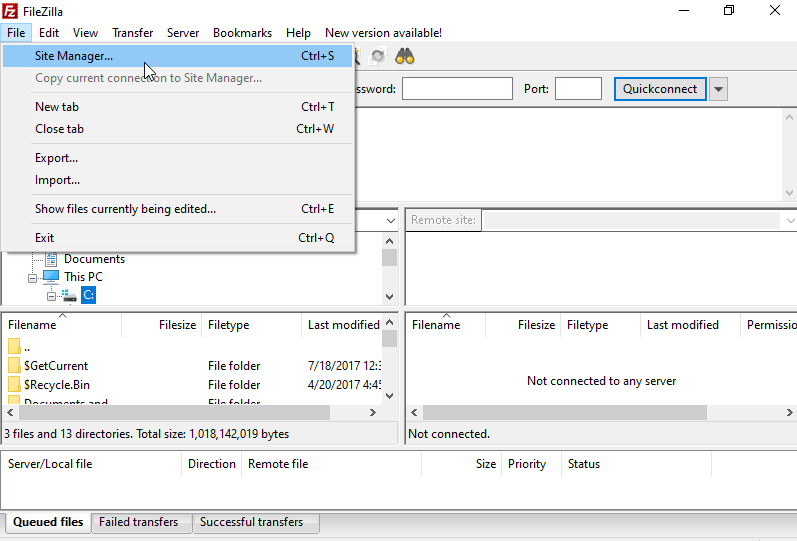
Step 1: Install FileZilla and run it, then Open File -> Site Manager.
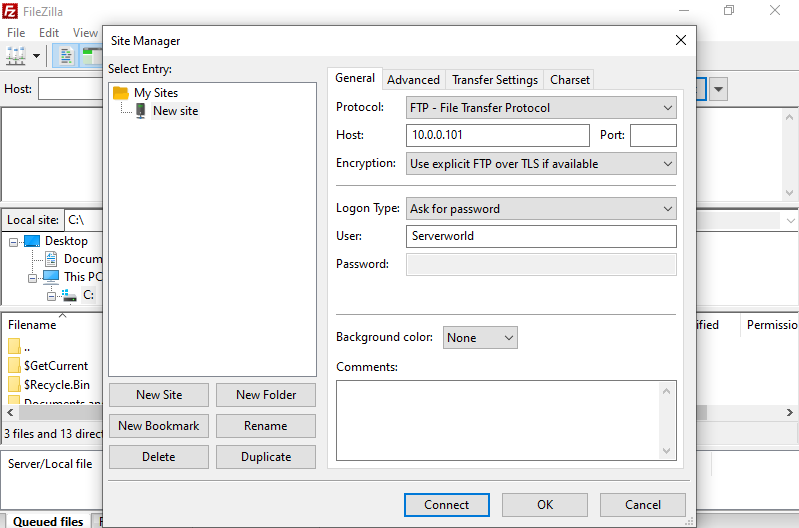
Step 2: Click New Site button and input information for FTP connection.
For Host field, input Hostname or IP address of FTP server.
For Logon Type filed, select Ask for password or other type except Anonymous.
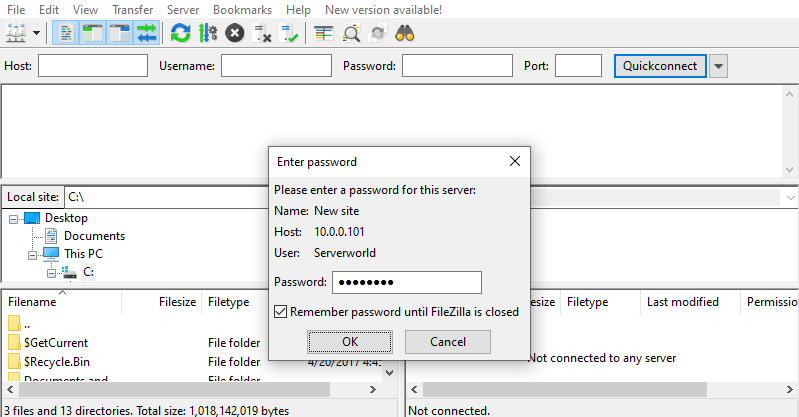
Step 3: Password is required, input it of the connected user.
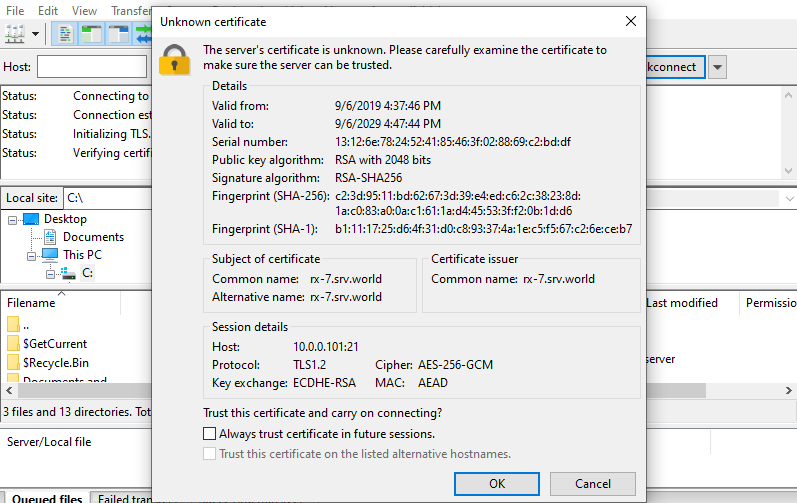
Step 4: If you use self-signed certificate, following warning is shown because it is self-signed one. Click OK to proceed.
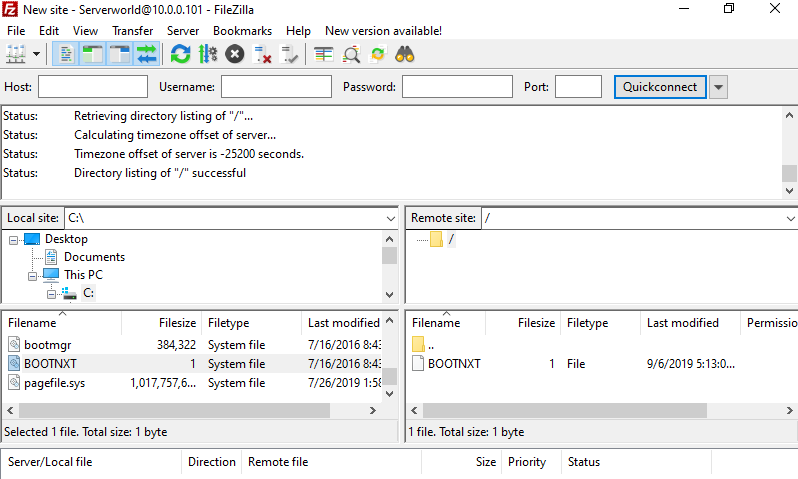
Step 5: Just connected to FTP site. Try to transfer files.
FTP User Isolation
Step 1: Add FTP Site.
Run Start -> Server Manager and Click Tools -> Internet Information Services (IIS) Manager. Next, Select the Site and right click it, then Open Add FTP Site.
Step 2: Input any name for FTP site name, specify physical Path for Physical path.

Step 3: This is Binding setting section. It’s OK to keep default for IP Address and Port.
For the case of this default setting, FTP service listens on 0.0.0.0:21.
For SSL section, Select [No SSL] on this example.
Step 4: This is Authentication and Authorization settings section.
On this example, set Basic for authentication and All users for Authorization.
Step 5: FTP site has been added. Select the new FTP site on the left pane and click FTP Firewall Support on center pane.

Step 6: Set IP address that client computers can connect to.
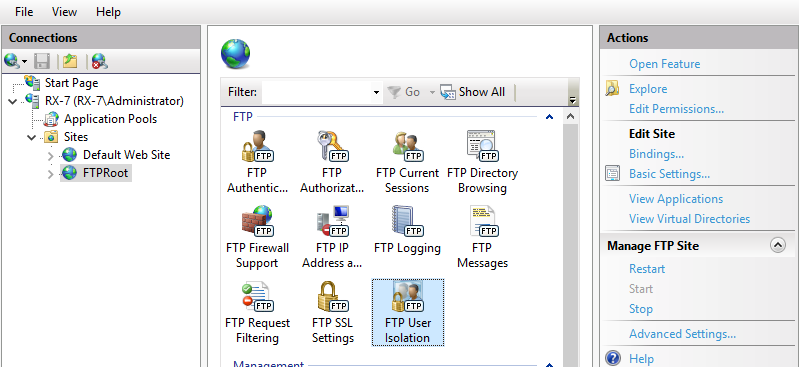
Step 7: Back to FTP site index and Click FTP User Isolation on the center pane.
Step 8: Check a box User name physical directory and apply setting.
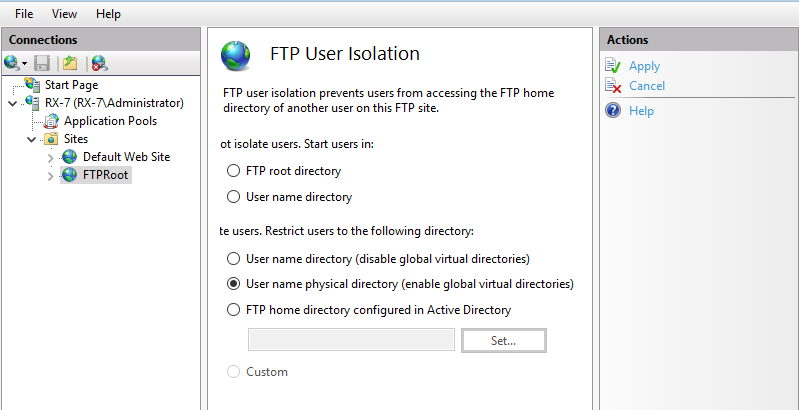
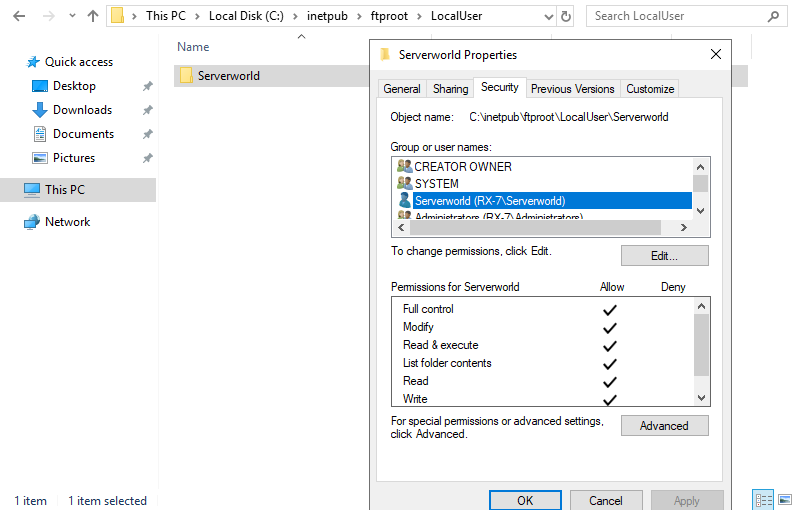
Step 9: On FTP User Isolation setting, FTP root folder is needed for each user.
Create a [LocalUser] folder under the FTP root of the FTP site. (on this example, FTP root is [C:\inetpub\ftproot])
Next, create user folders that folder name is the same with each username and add read and write authority to their folders. (example below is for [Serverworld] user)
That’s OK, FTP User Isolation setting has done. Try to access to FTP site from Client Computer.