
Burp Suite is a collection of different tools which are brought together in a single application for performing security testing of Web applications. It is widely used by penetration testers to test and identify different vulnerabilities which are present in web applications and exploit them to fix those security issues. Burp Suite has a large number of features which include proxy, intruder, repeater, sequencer, decoder, compare, and many more. Burp Suite has a large number of users.
This tutorial shows how to install BurpSuite on windows and how to setup your browser and setup CA certificate.
So let’s download the community edition of Burp suite to install it on your computer – https://portswigger.net/burp/communitydownload

Next, It will ask to provide email id to download and another option is Go Straight to downloads ->

Select Burp Suite Community version which is free and windows version and download. Once download is completed run .exe file to start the installation.

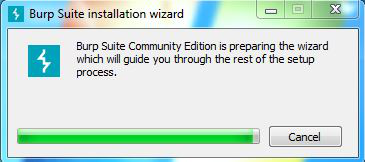
Loading of Installation Wizard will appear which will take a few seconds once .exe file is executed.
After above Welcome Setup screen will appear, click on Next.
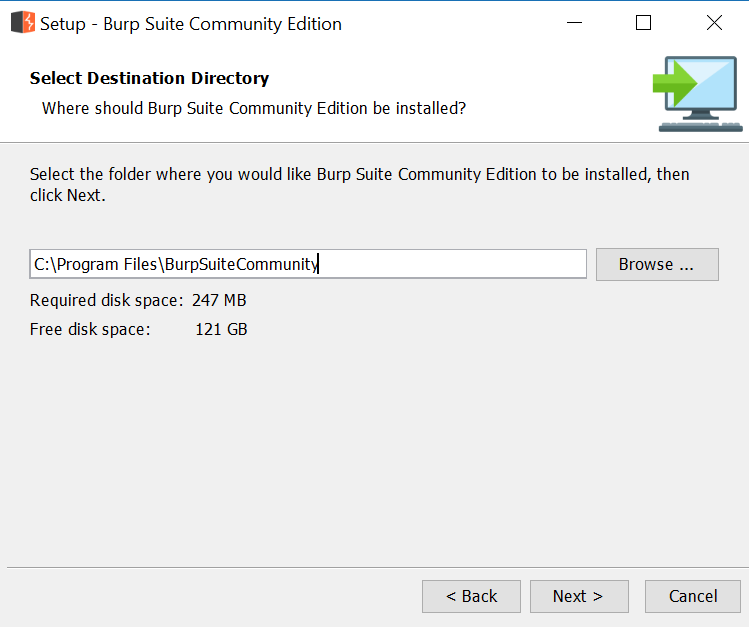
The next screen will be of installing location so choose the drive which will have sufficient memory space for installation.
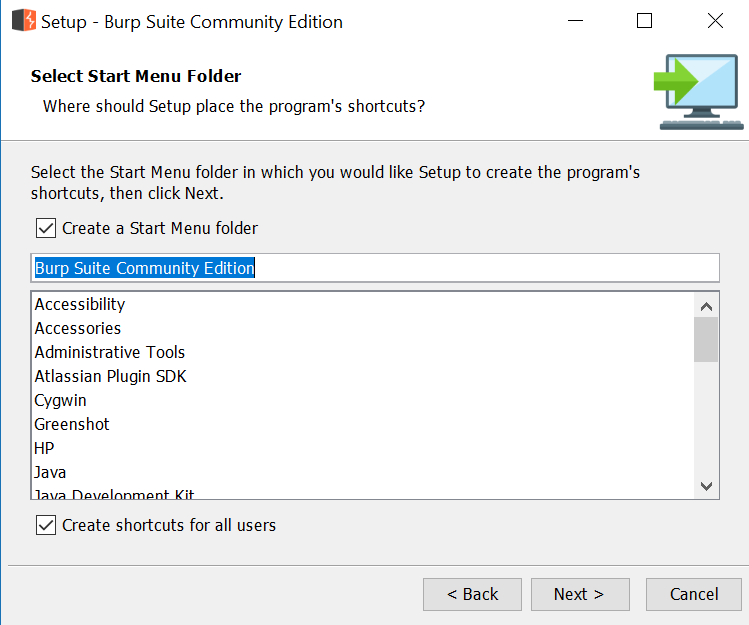
Next screen will be of choosing Start menu folder so don’t do anything just click on Next Button.
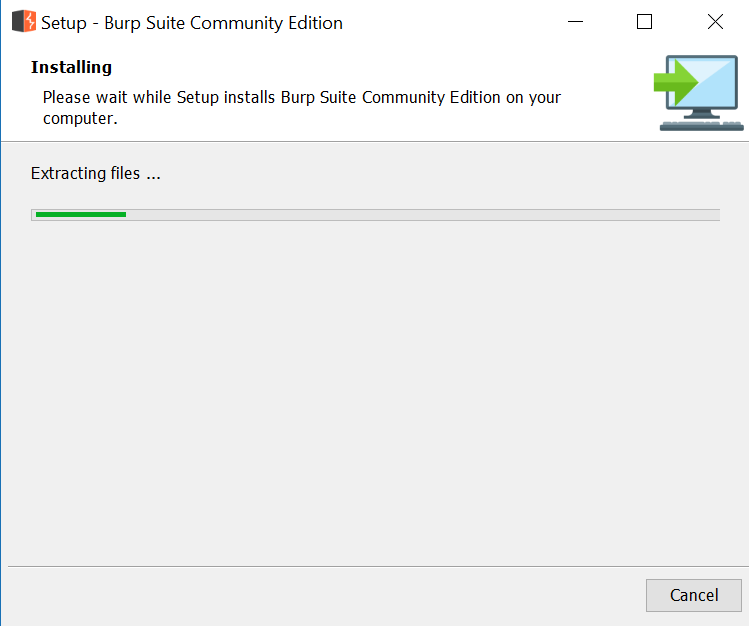
After this installation process will start and will hardly take a minute to complete the installation.
Click on Finish after the installation process is complete.
Burp suite is successfully installed on the system and an icon is created on the desktop.
Run the software, screen containing terms and conditions will appear Click on I Accept.

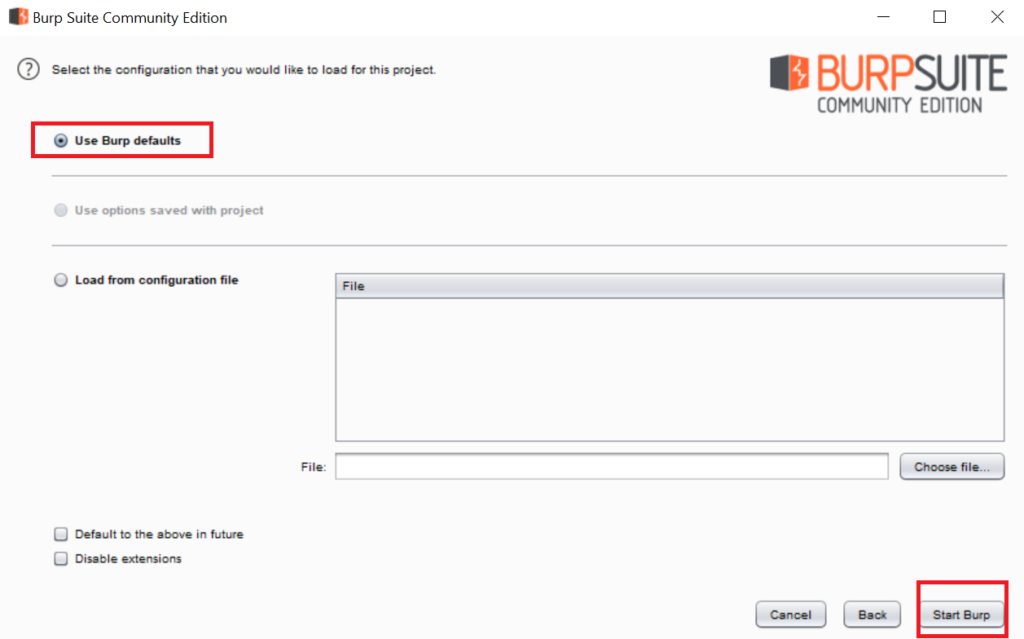
Next screen is about using default settings or loading from configuration file, click on Use Burp Defaults and Start Burp.
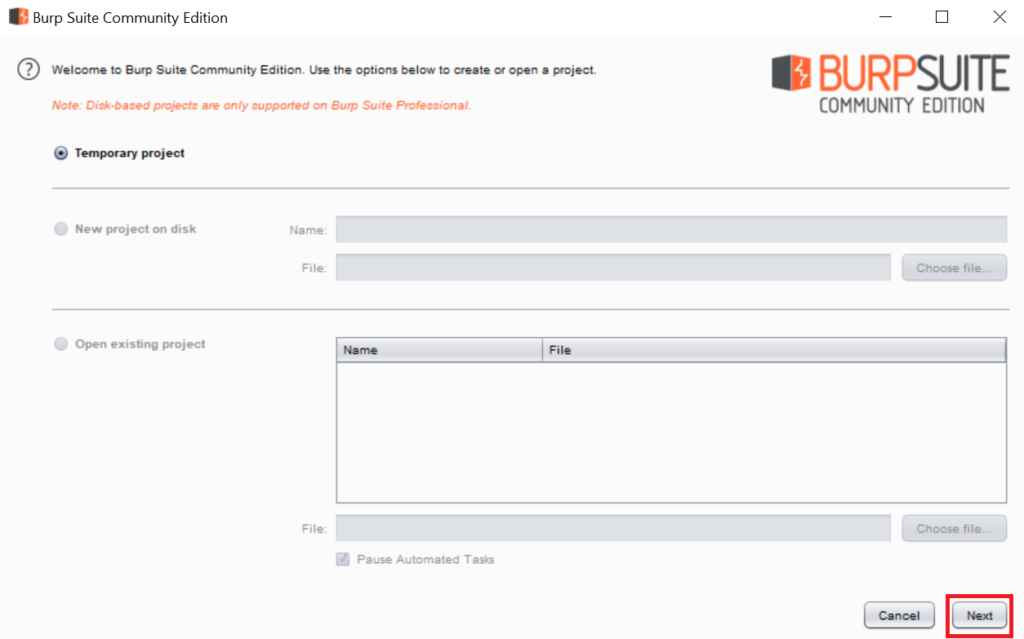
Finally new project window will appear.
Before proceeding, open Firefox and open http://burp.
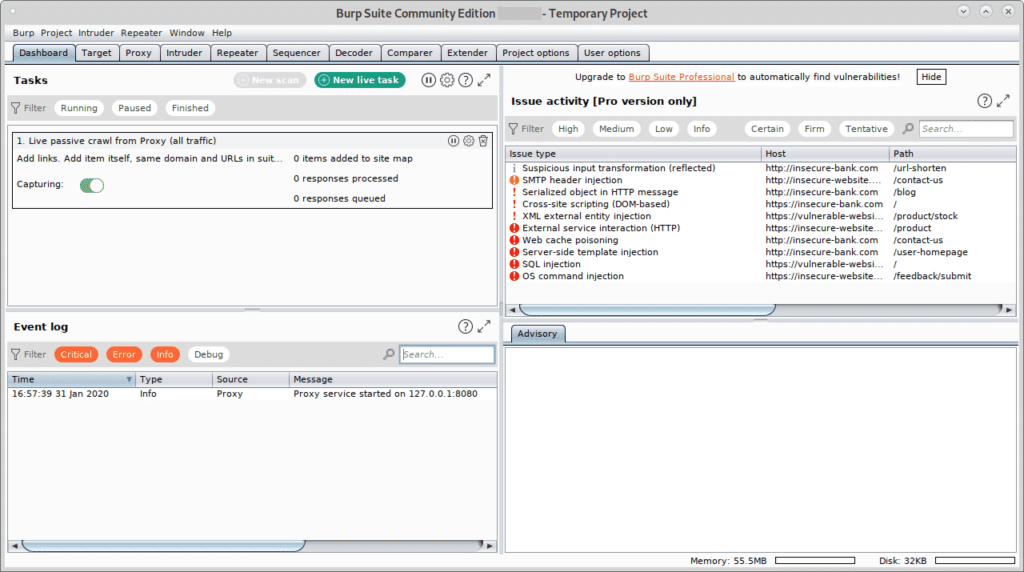
A screen similar to the shown below will show up, on the upper right corner click on CA Certificate.

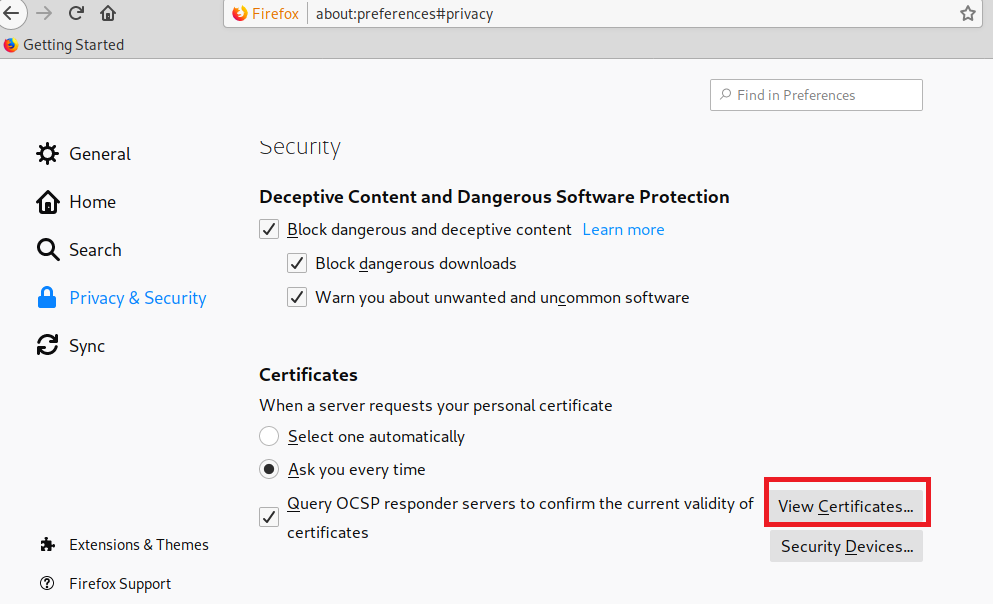
Download and save the certificate. On the Firefox menu click on Preferences, then click on Privacy and Security and scroll down until you find the Certificates section, then click on View Certificates as shown below:
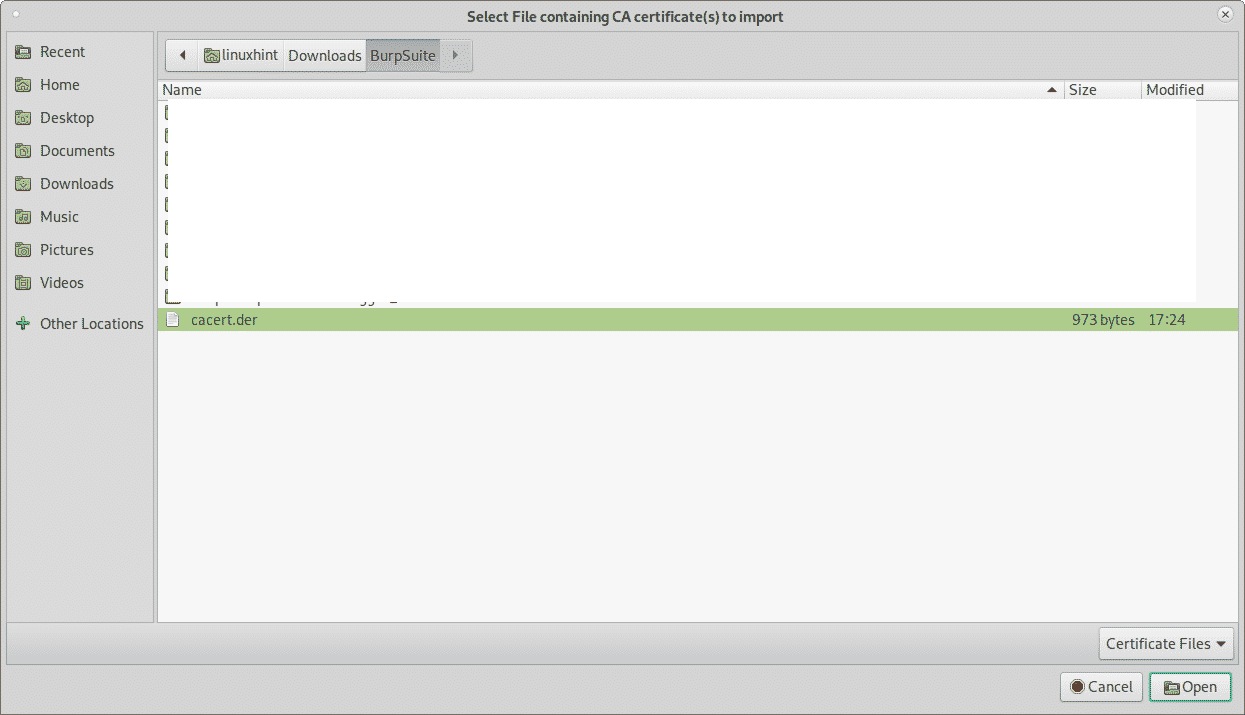
Click on Import:

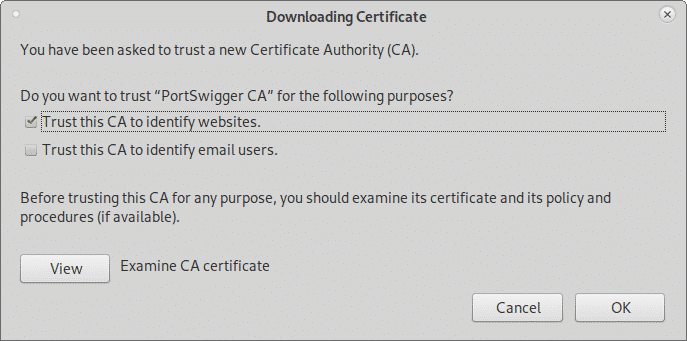
Select the certificate you got previously and press Open then Click on “Trust this CA to identify websites.” and press OK.
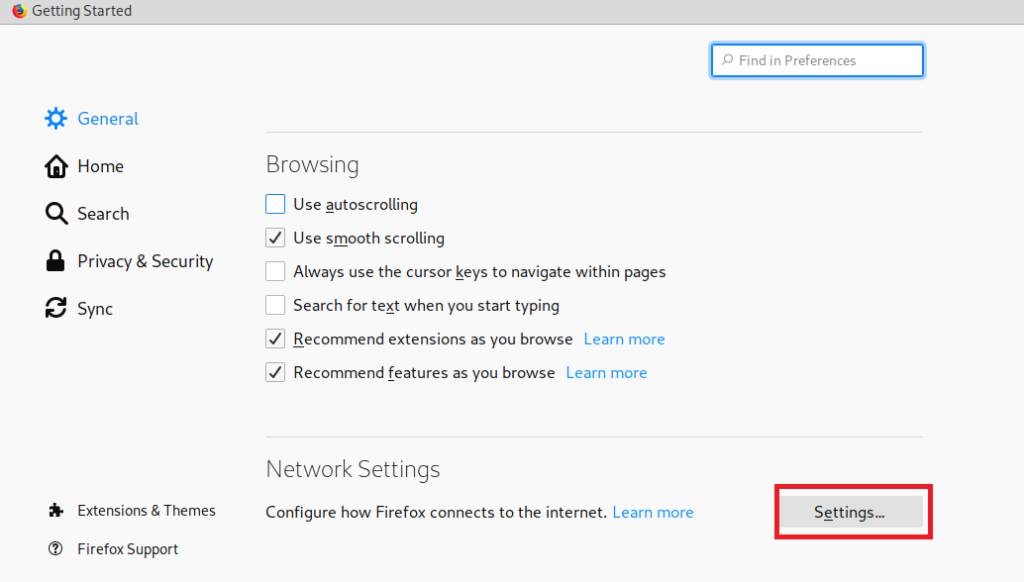
Now, still on the Firefox Preferences menu click on General in the menu located in the left side and scroll down until reaching Network Settings, then click on Settings.
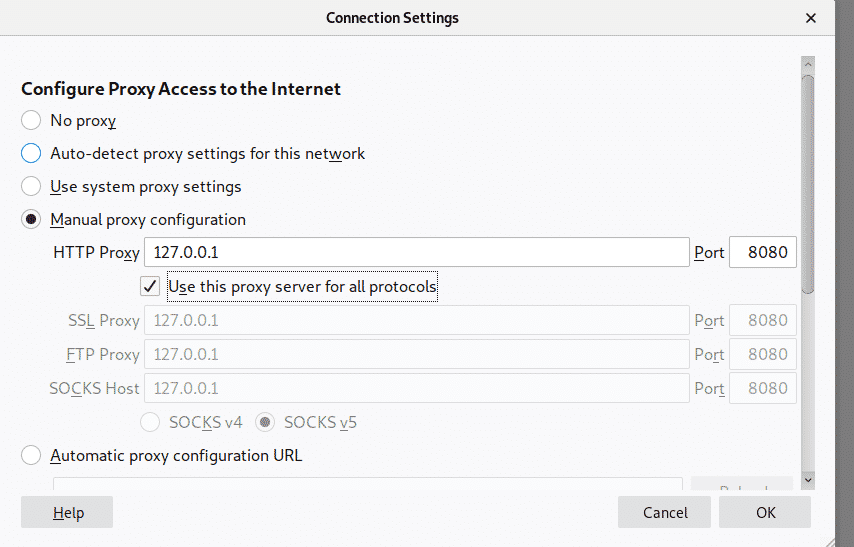
Select Manual Proxy Configuration and in the HTTP Proxy field set the IP 127.0.0.1, checkmark the “Use this proxy server for all protocols”, then click OK.
Now BurpSuite is ready to show how it can intercept traffic through it when defined as proxy. On BurpSuite click on the Proxy tab and then on the Intercept sub tab making sure intercept is on and visit any website from your Firefox browser.
The request between the browser and the visited website will go through BurpSuite, allowing you to modify the packets as in a Man in the Middle attack.
Congratulations!! At this point, you have successfully installed Burp Suite on your windows system and setup Firefox to intercept traffic.


