To use Windows Server, buy it.
However, it’s possible to try to use Evaluation Version of Windows Server for 180 days. You can download the ISO file of Evaluation Version from the site blow after user registration.
https://www.microsoft.com/en-us/evalcenter/evaluate-windows-server-2019
Install Windows Server 2019
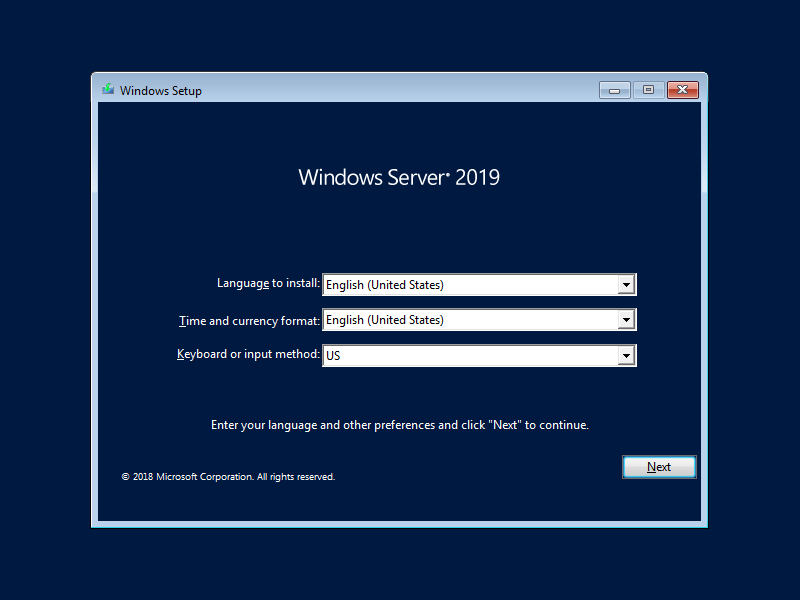
Step 1: Insert Windows Server install media and start the Computer, Then, Following screen is displayed, Proceed next to click [Next] button.
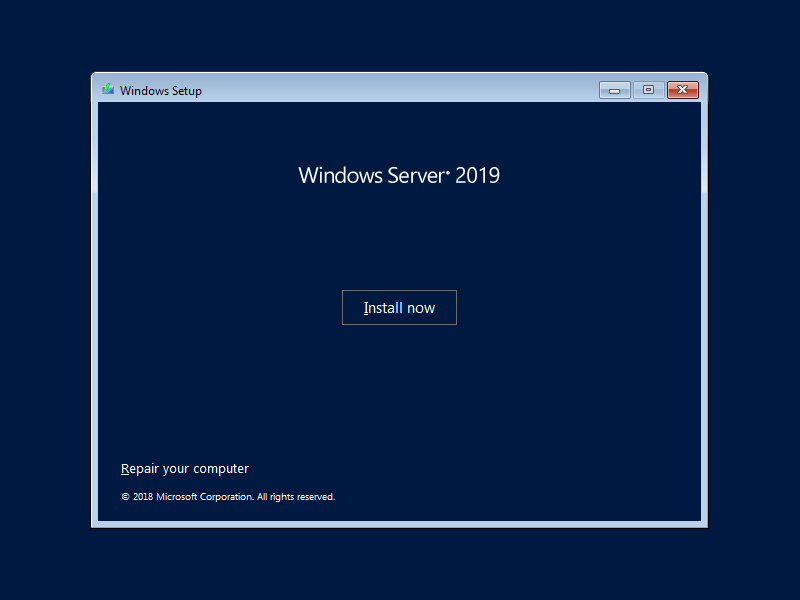
Step 2: Click [Install Now] to start installation.
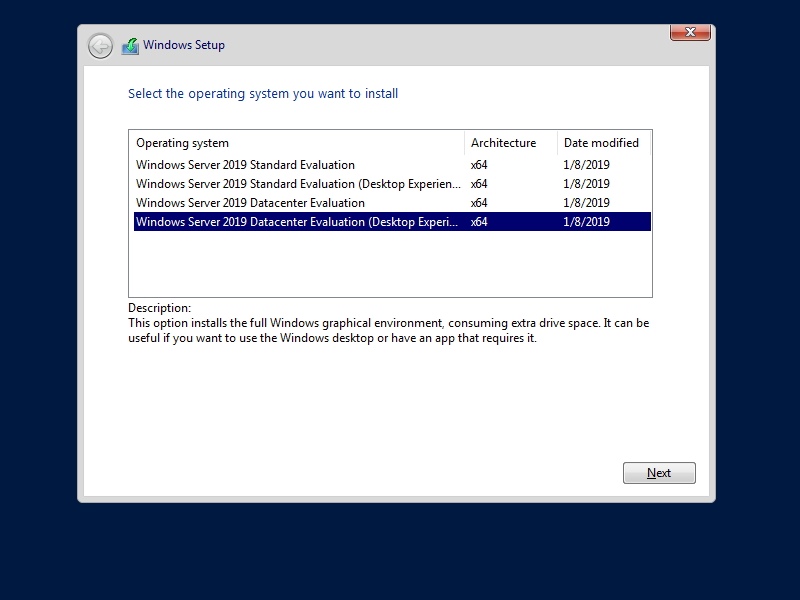
Step 3: Select the edition of Windows server you’d like to install.
Step 4: Read License Terms Well and check a box [I acceppt ***] to proceed next.

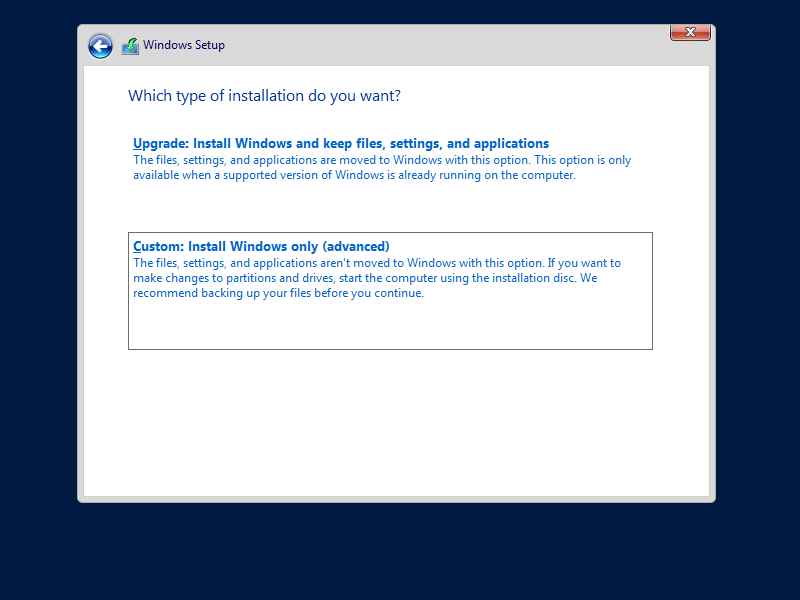
Step 5: For newly installation of Windows server, select [Custom: Install Windows only].
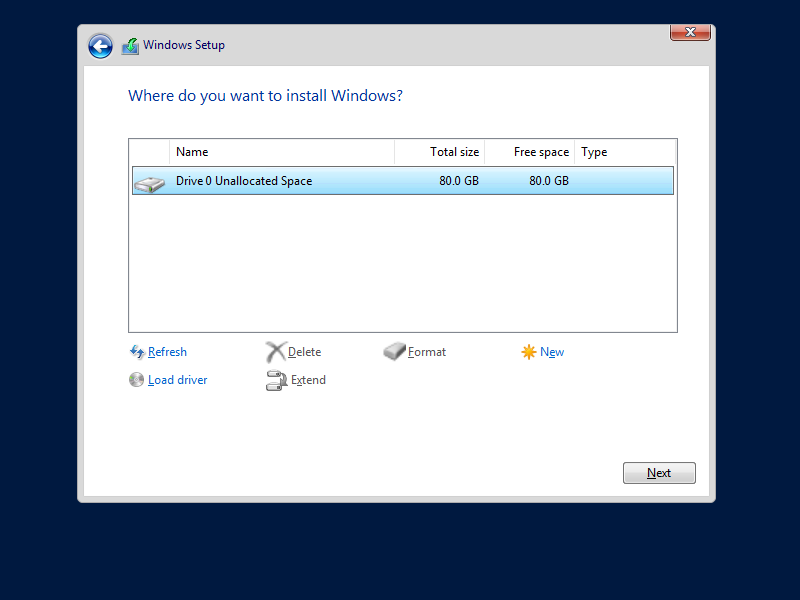
Step 6: Select a partition to install Windows Server.
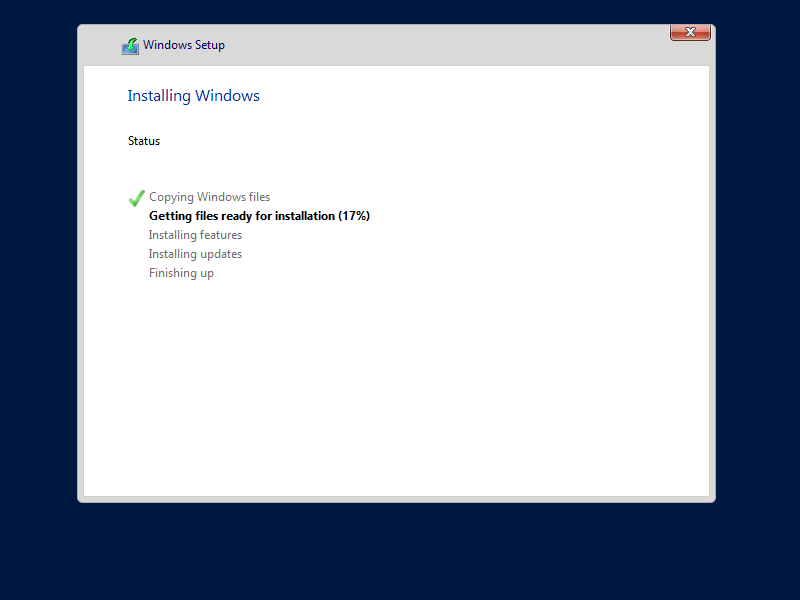
Step 7: Installation of Windows Server starts. During installation, computer restarts automatically.
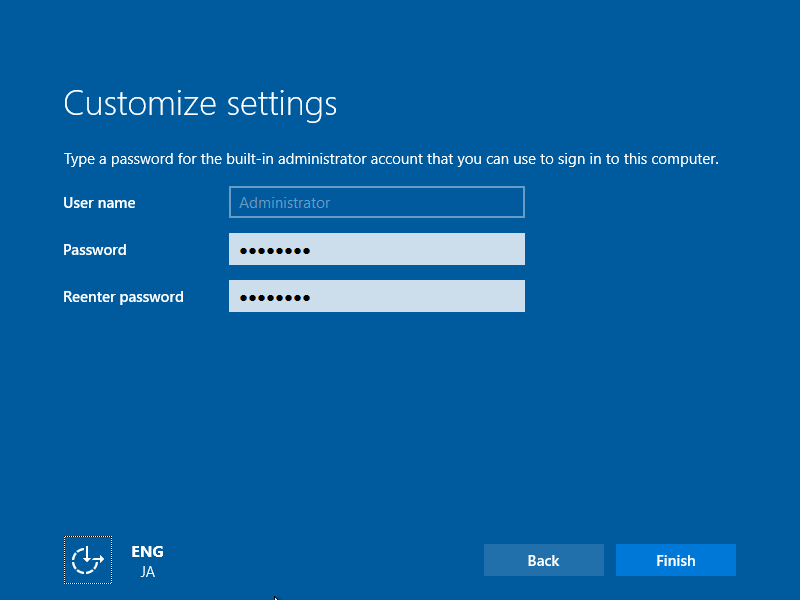
Step 8: After restarting computer, following screen is shown, then Set Administrator password.
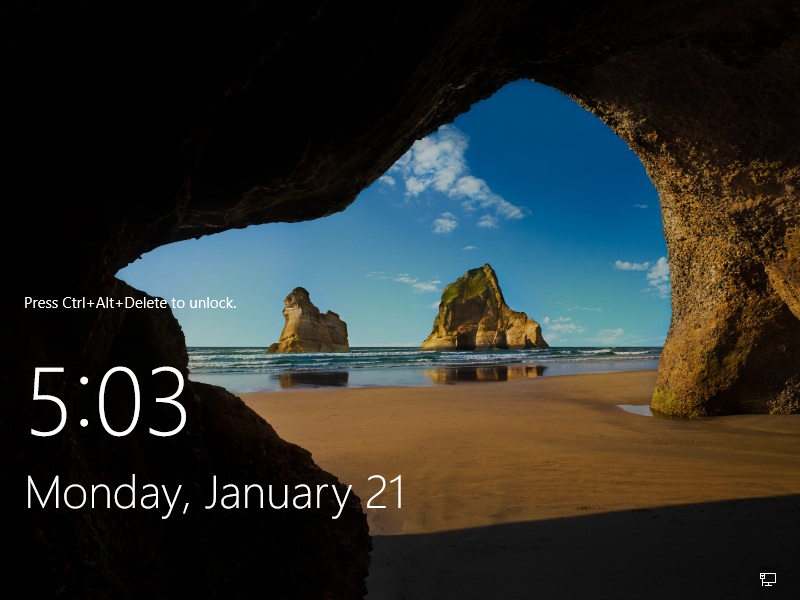
Step 9: Push Ctrl + Alt + Del key to sign-in.
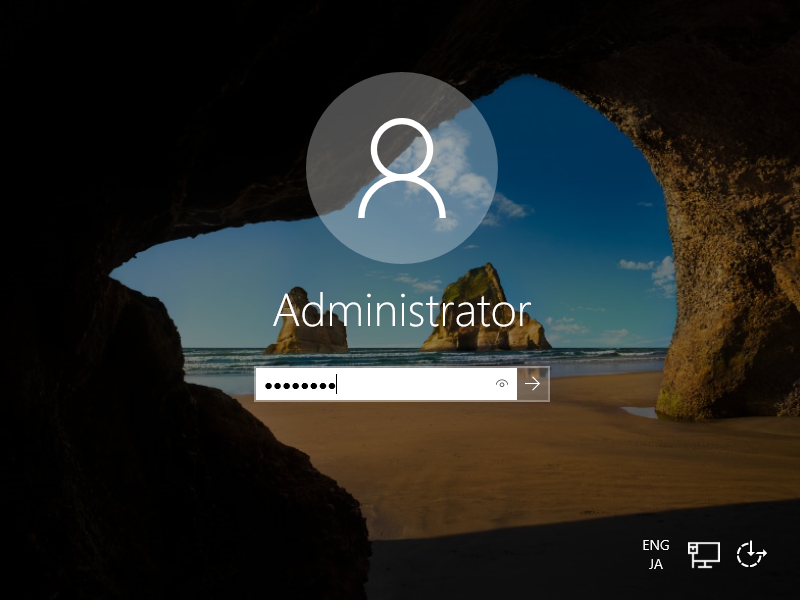
Step 10: Input the Administrator password you set on step 8 to sign-in.
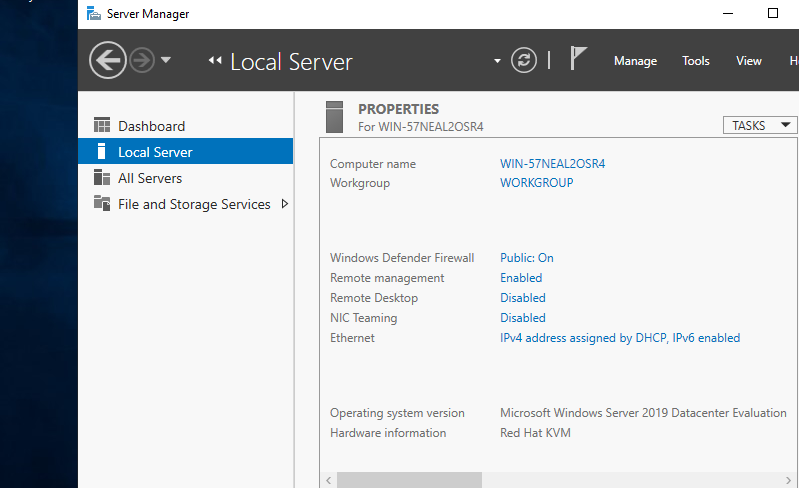
Step 11: Just logon to Windows Server. For initial logon, setting confirmation of Networks is displayed like follows, Select Yes or No.
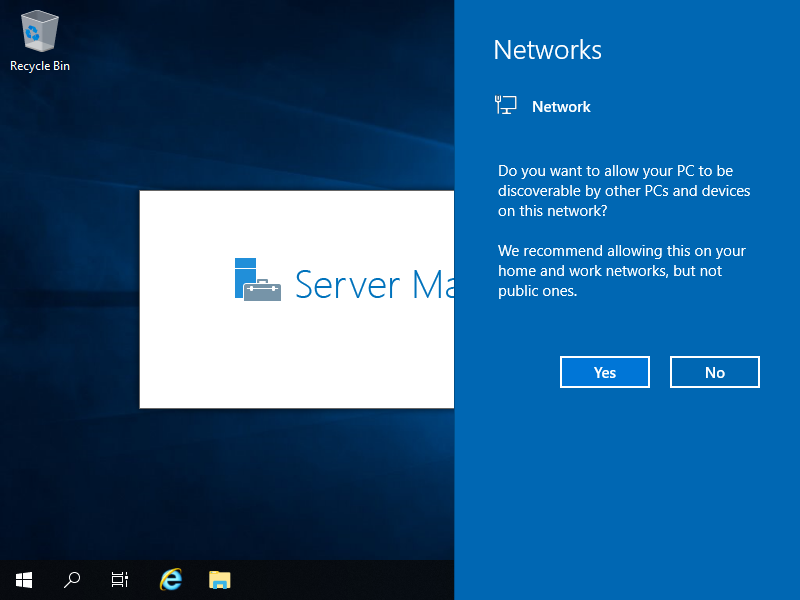
Step 12: This is the Desktop on Windows Server 2019. Installation of Windows Server completes.