Hyper-V is Microsoft’s hardware virtualization product. It lets you create and run a software version of a computer, called a virtual machine. Each virtual machine acts like a complete computer, running an operating system and programs. When you need computing resources, virtual machines give you more flexibility, help save time and money, and are a more efficient way to use hardware than just running one operating system on physical hardware.
Hyper-V runs each virtual machine in its own isolated space, which means you can run more than one virtual machine on the same hardware at the same time. You might want to do this to avoid problems such as a crash affecting the other workloads, or to give different people, groups or services access to different systems.
- Install Hyper-V
- Create Virtual Machine (Windows)
- Create Virtual Machine (Linux)
Install Hyper-V
Step 1: Run Server Manager and Click Add roles and features and click Next on first page.
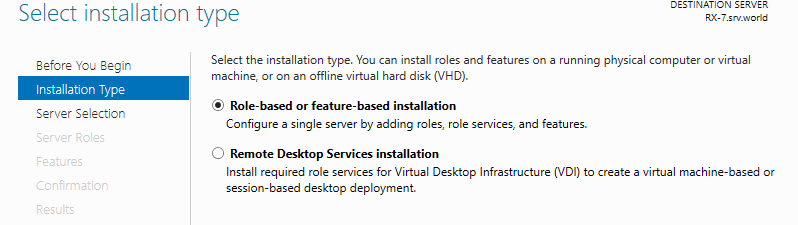
Step 2: Select Role-based or feature-based installation.
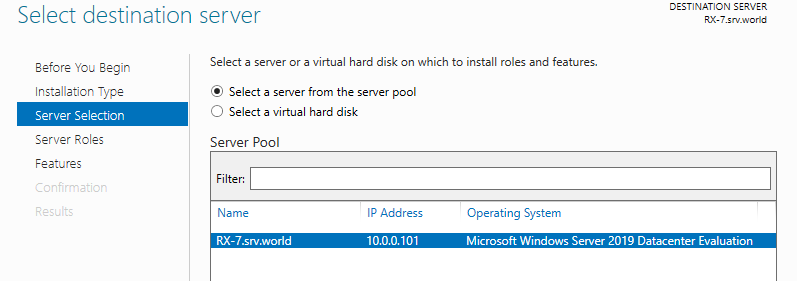
Step 3: Select a Host which you’d like to add services.
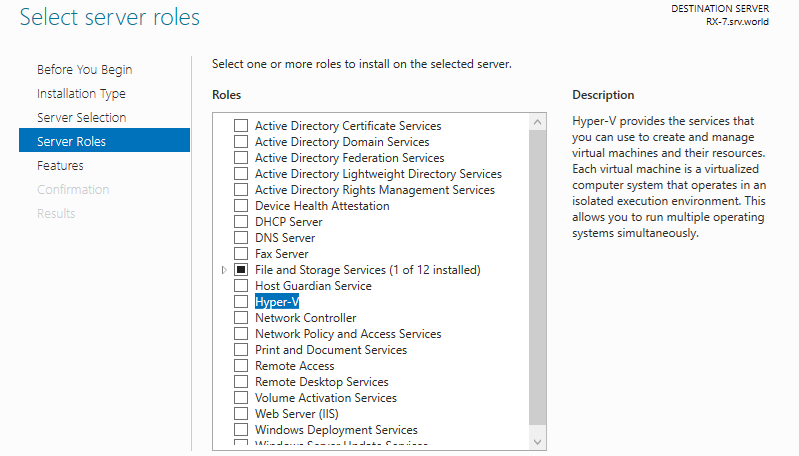
Step 4: Check a box Hyper-V.
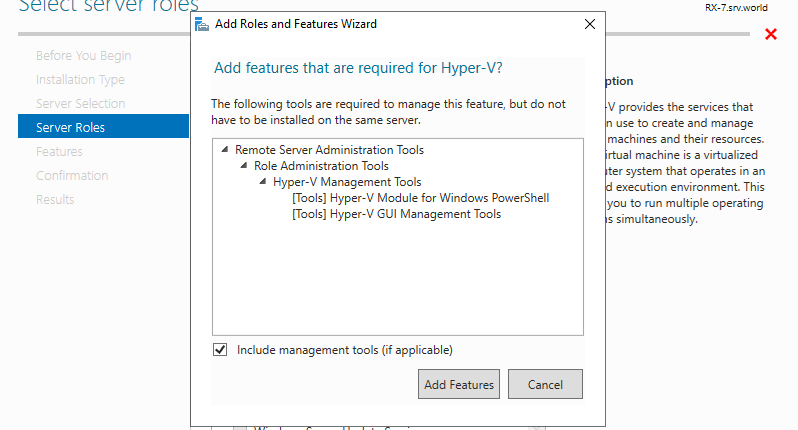
Step 5: Additional features are required to add Hyper-V. Click Add Features button and proceed to Next.
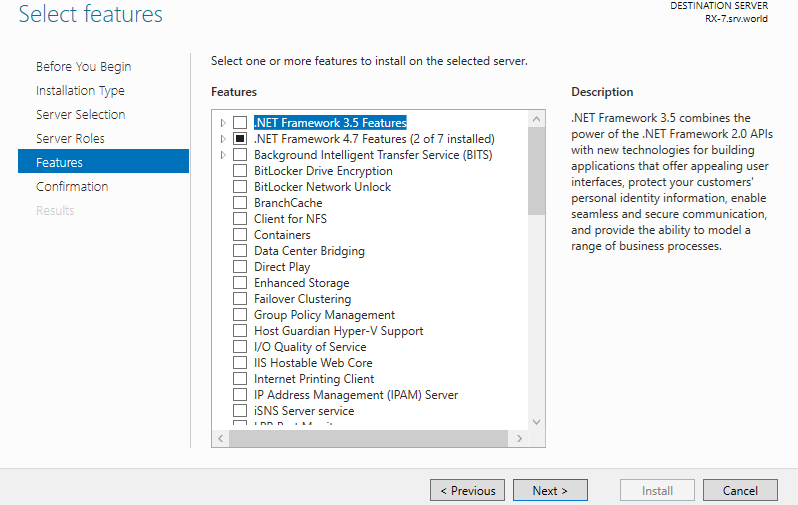
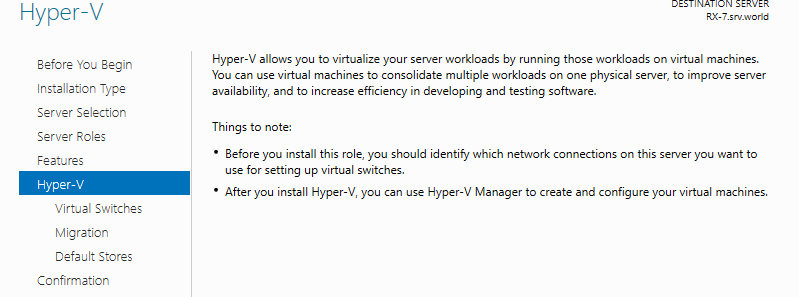
Step 6: Click Next button.
Step 8: Click [Next] button.
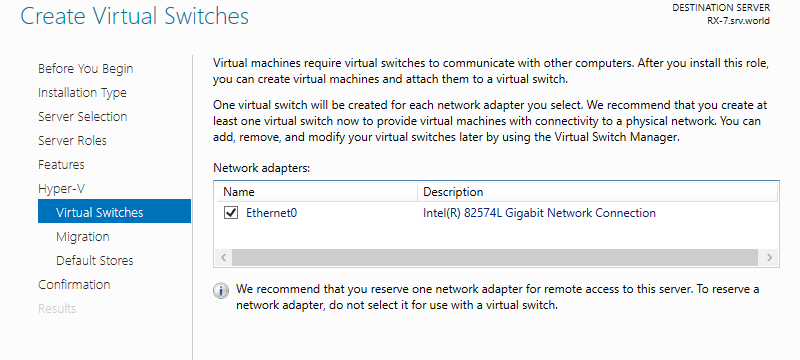
Step 9: This is the section to create Virtual Switches. Select a Network adapter for it.
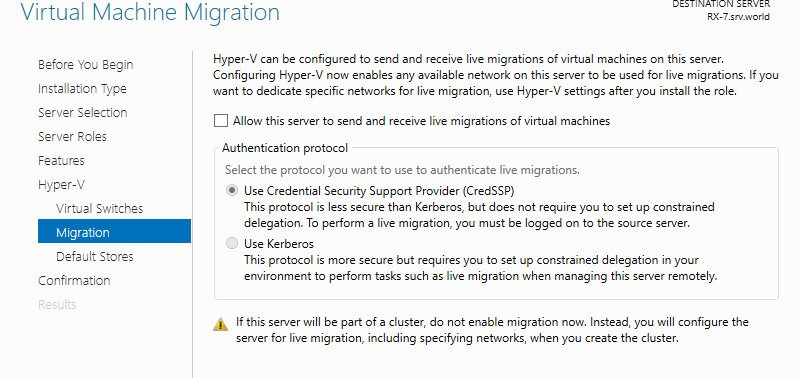
Step 10: This is the section for Migration for Virtual Machines. On this example, keep default and proceed Next.
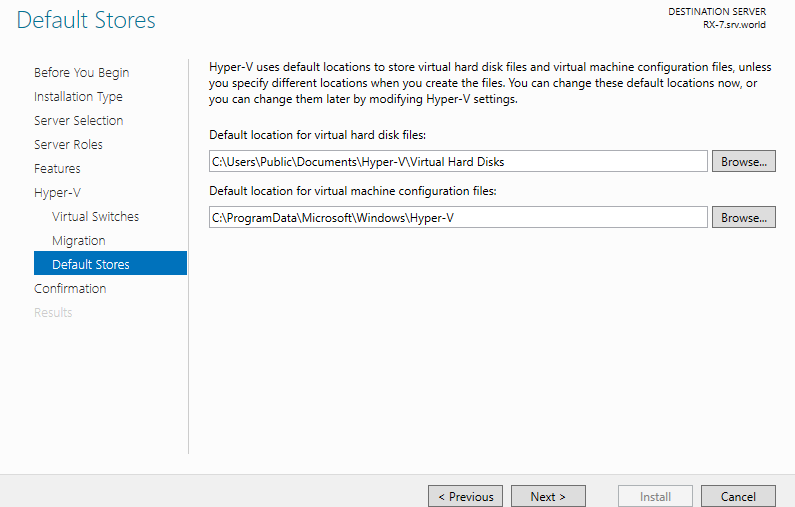
Step 11: This is the section to specify the location of Virtual Machines’ configuration. On this example, keep default and proceed Next.
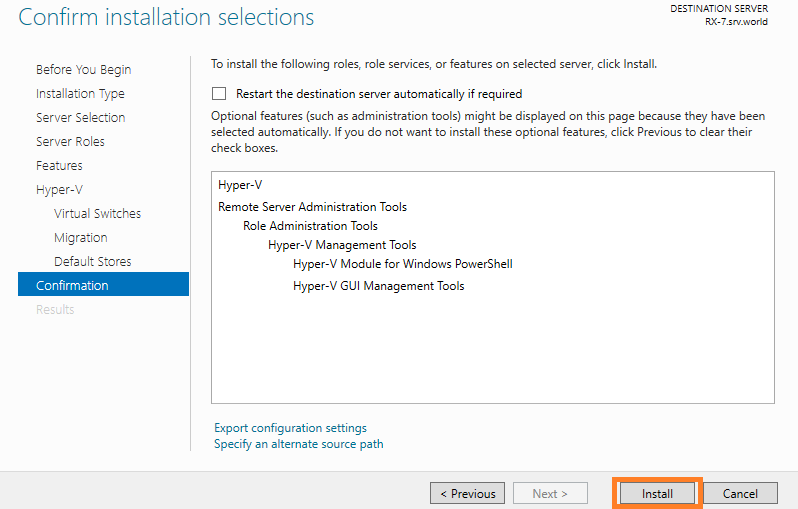
Step 12: Click Install button to begin installation.
Step 13: After finishing installation, Click Close button and restart Computer.
Create Virtual Machine (Windows)
Step 1: Run Server Manager and Open Tools -> Hyper-V Manager.
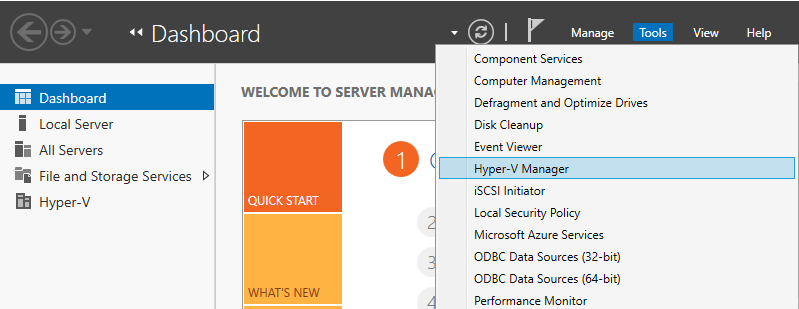
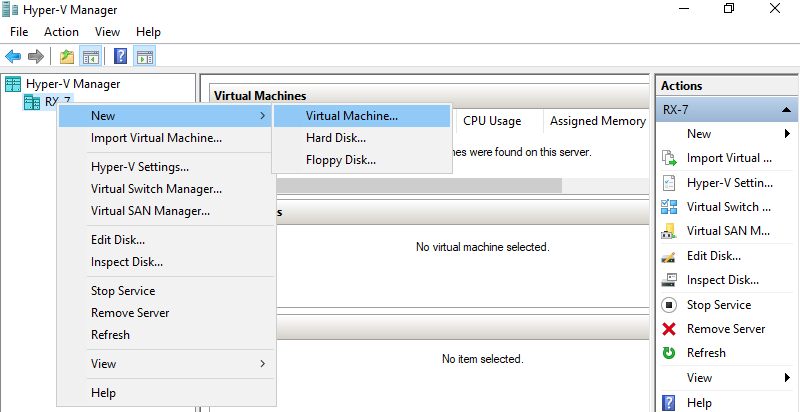
Step 2: Select Hostname on the left pane and right-click it to open the menu, and then select New -> Virtual Machine.

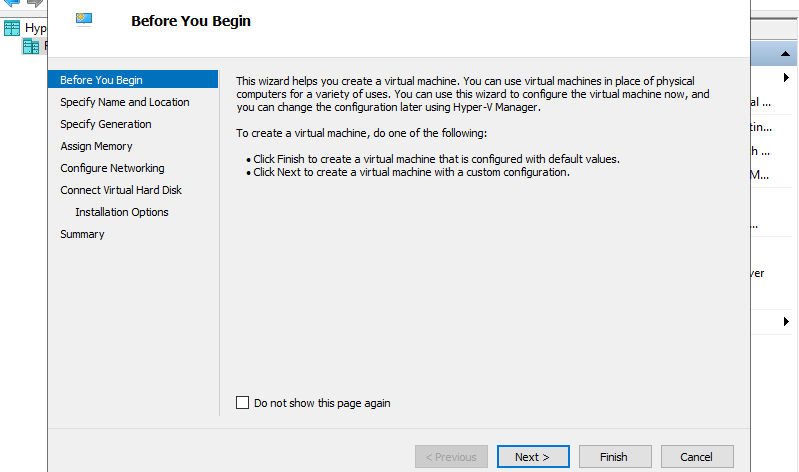
Step 3: Click Next button.

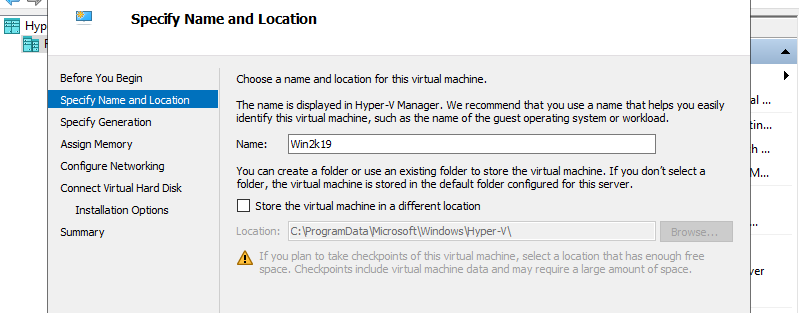
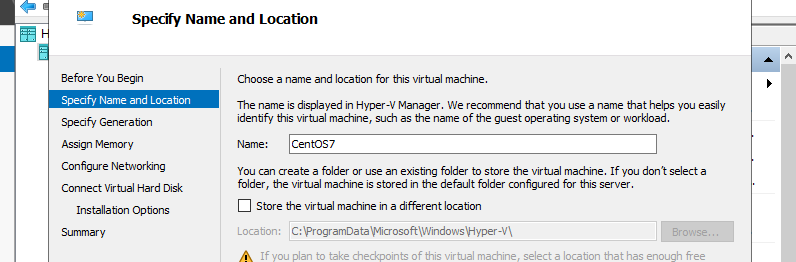
Step 4: Input name of Virtual Machine. Any name is OK.
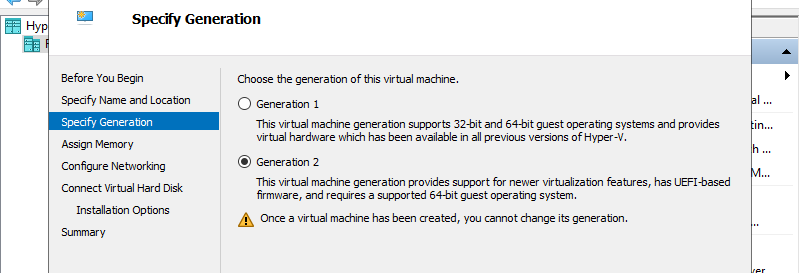
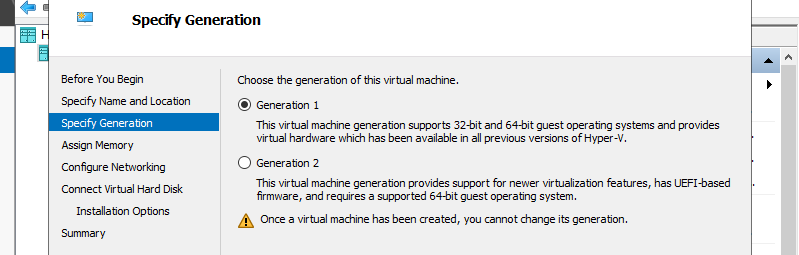
Step 5: Specify generation of Virtual Machine. On this example, select [Generation 2].
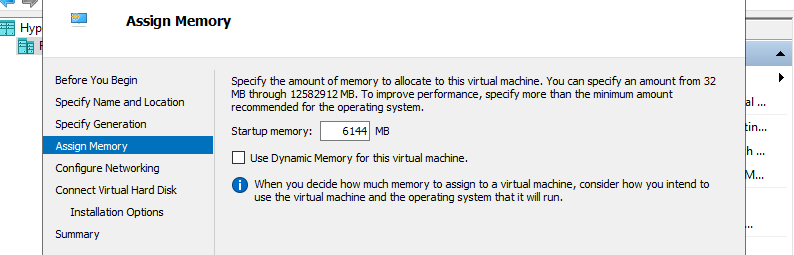
Step 6: Assign Memory for Virtual Machine.

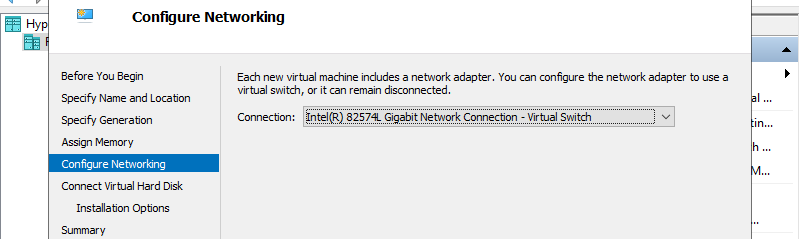
Step 7: Select Virtual Switch to use networking of Virtual Machine.
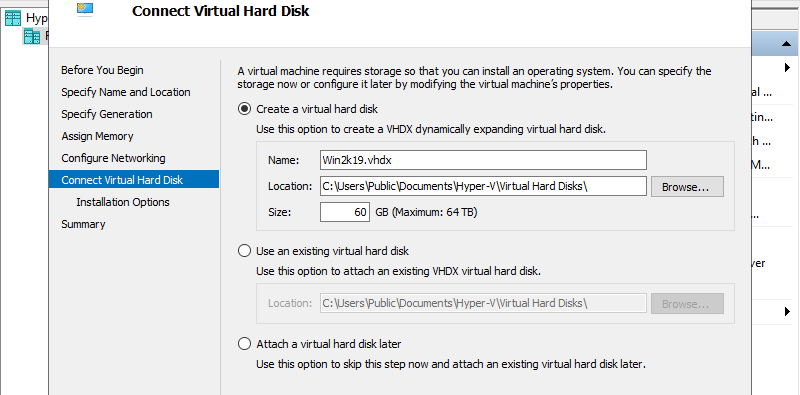
Step 8: Configure Virtual Hard Disk. Set parameters you like.
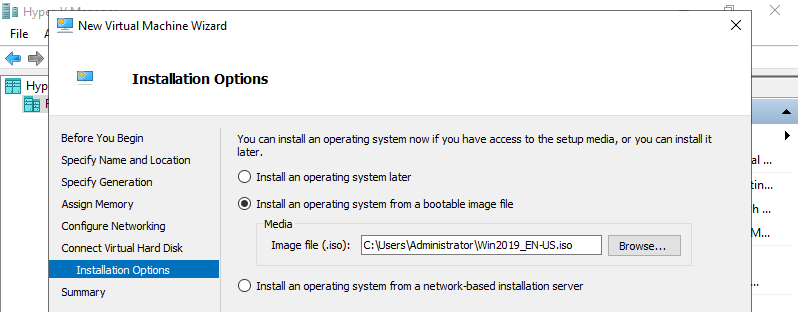
Step 9: Select installation source of GuestOS.
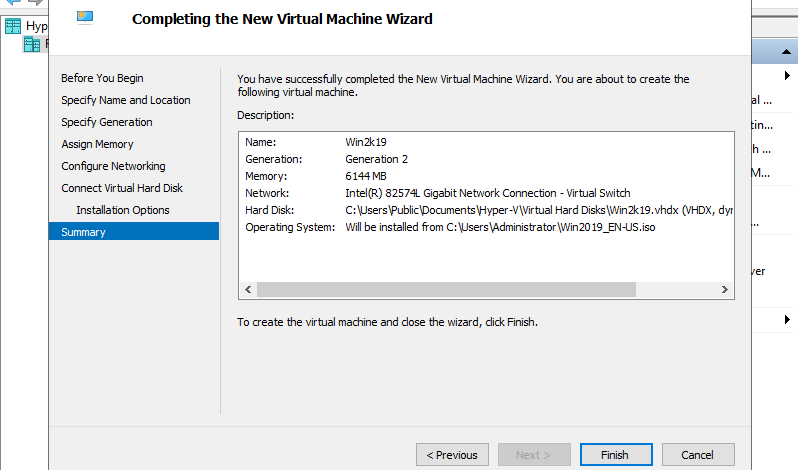
Step 10: Click Finish button if that’s OK.
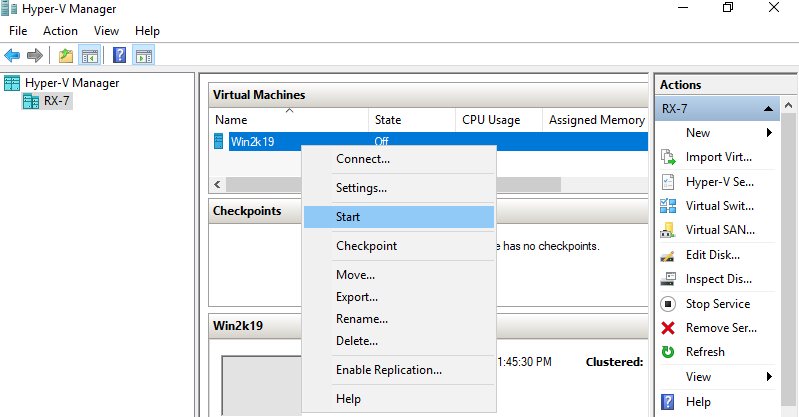
Step 11: Virtual machine has been just created. To start it, right-click it and select Start.
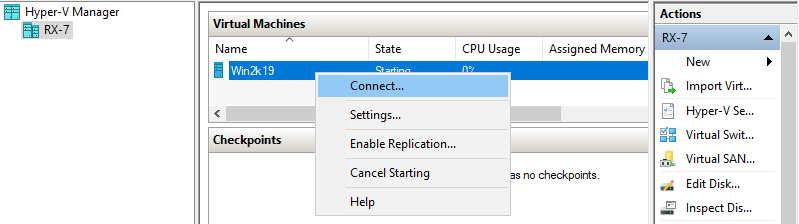
Step 12: To connect the console of Virtual Machine, right-click it and select Connect.
Step 13: Install GuestOS with common procedure.
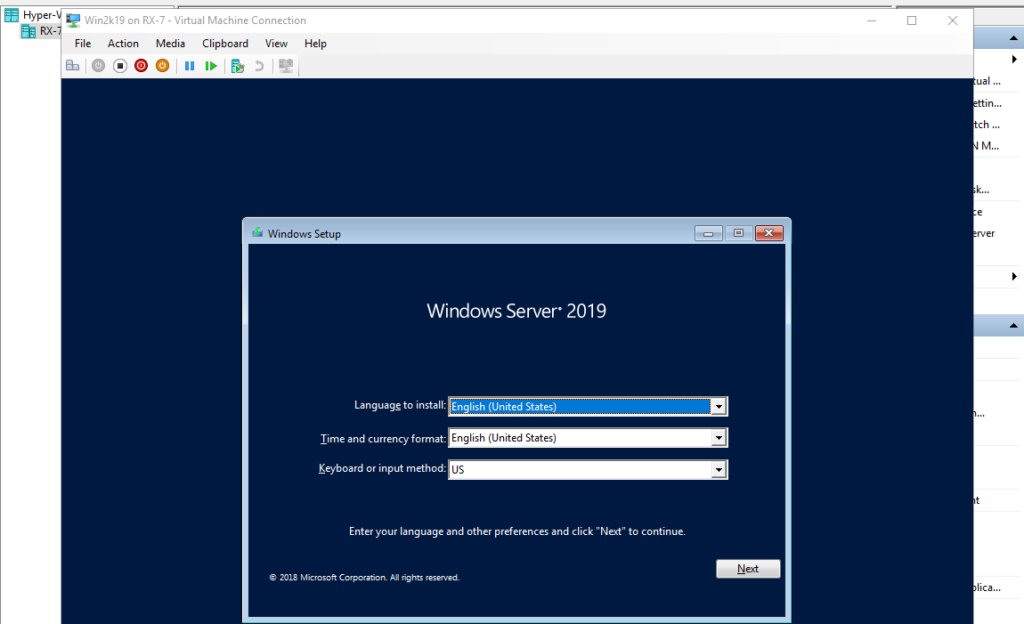
Step 14: Installation has finished and Virtual Machine Windows Server is running now.

Create Virtual Machine (Linux)
Step 1: Run Server Manager and Open Tools -> Hyper-V Manager.

Step 2: Select Hostname on the left pane and right-click it to open the menu, and then select New -> Virtual Machine.
Step 3: Click Next button.
Step 4: Input name of Virtual Machine. Any name is OK.
Step 5: Specify generation of Virtual Machine. On this example, select [Generation 1].
Step 6: Assign Memory for Virtual Machine.
Step 7: Select Virtual Switch to use networking of Virtual Machine.

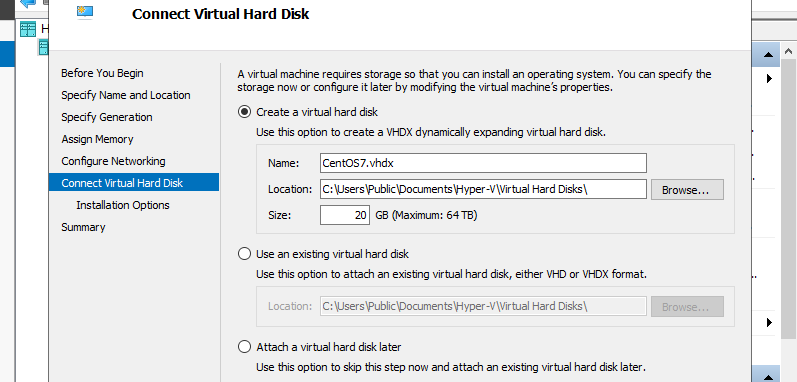
Step 8: Configure Virtual Hard Disk. Set parameters you like.
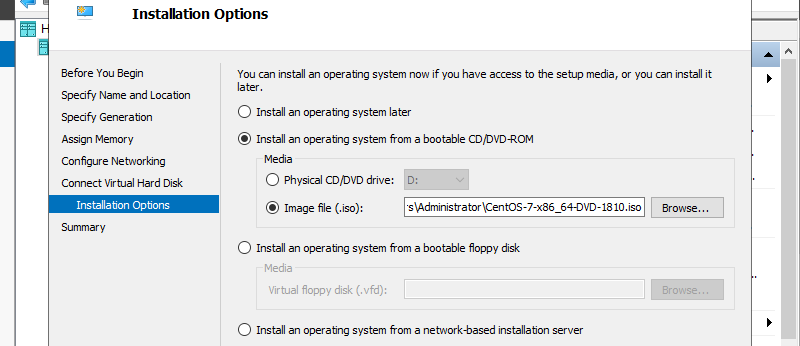
Step 9: Select installation source of GuestOS.
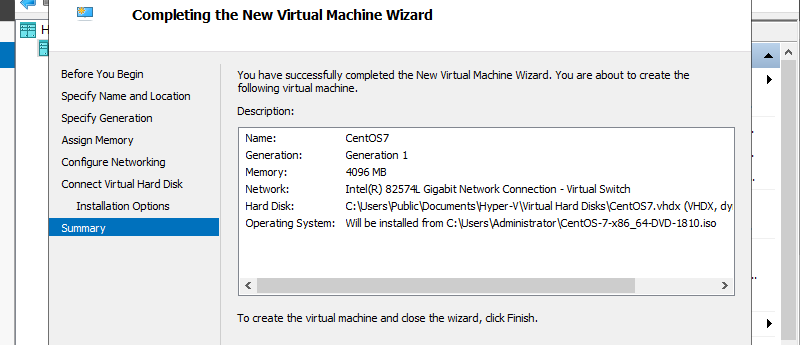
Step 10: Click Finish button if that’s OK.
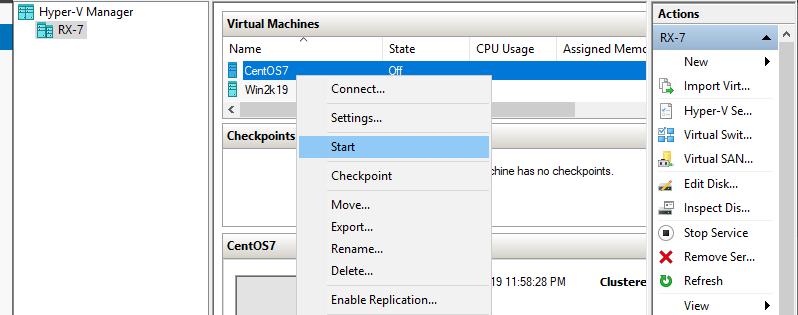
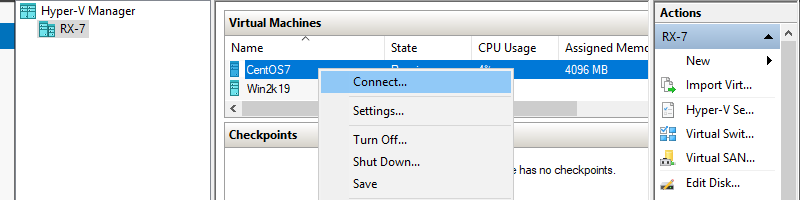
Step 11: Virtual machine has been just created. To start it, right-click it and select Start.
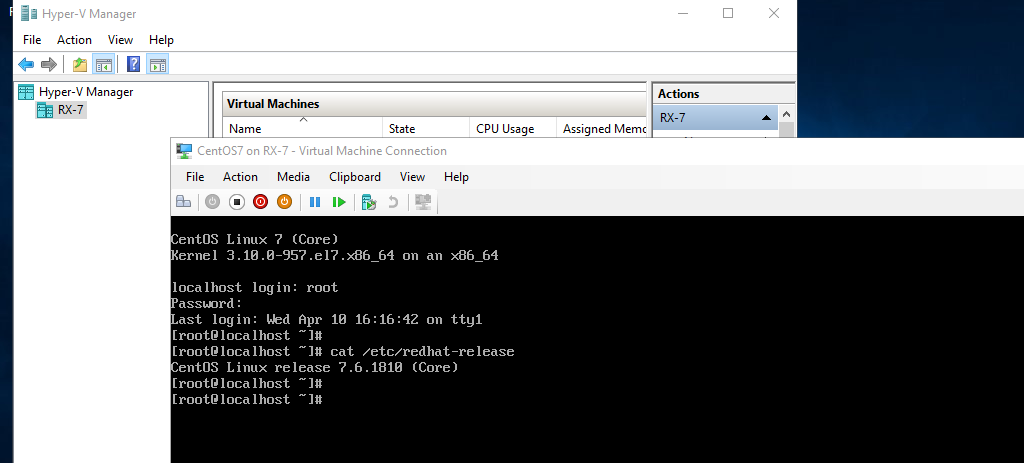
Step 12: To connect the console of Virtual Machine, right-click it and select Connect.
Step 13: Install GuestOS with common procedure.
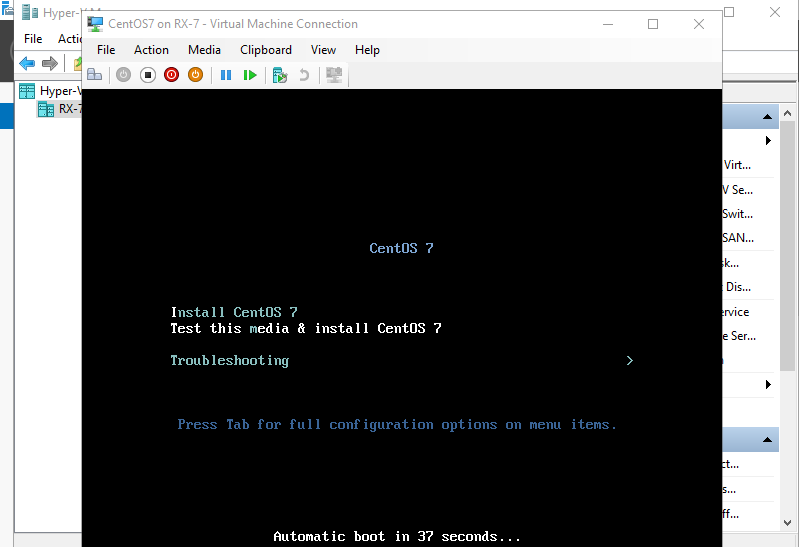
Step 14: Installation has finished and Virtual Machine CentOS Linux is running now.